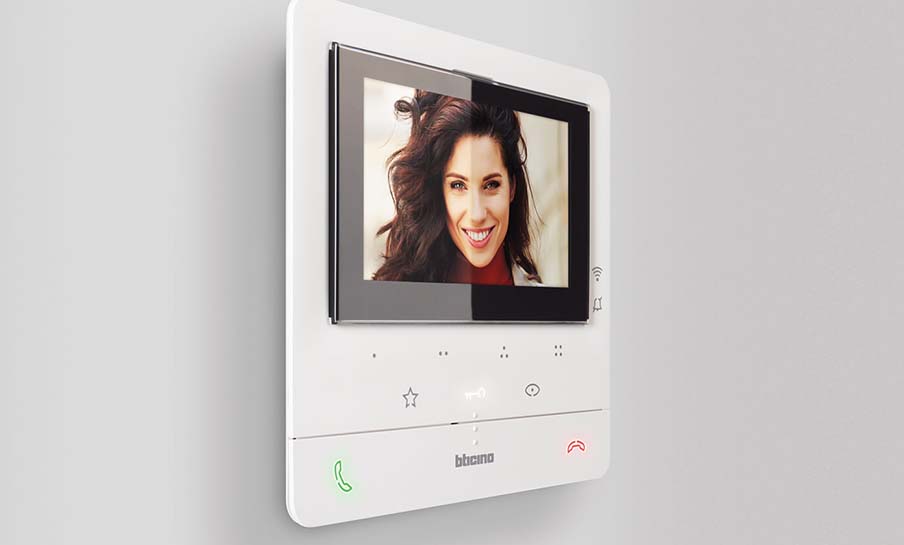
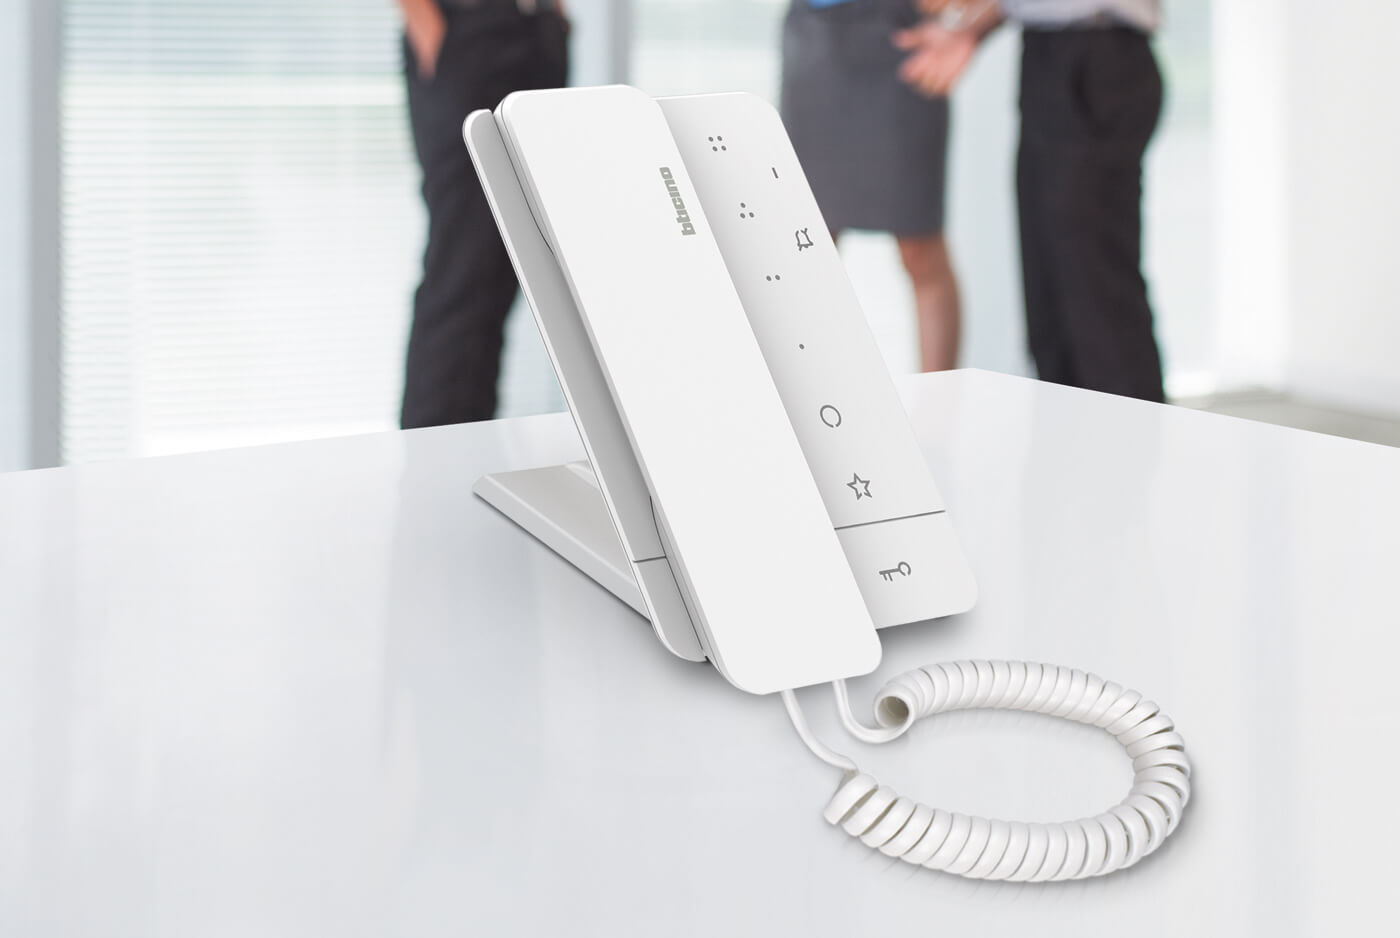
Two installation solutions
Choose wall or table installation.
Both are available for the entire range of Classe 100 video and audio internal units.
CLASSE 100 Video internal units – Wall mounted installation
All CLASSE 100 video internal units are wall mounted using the specific metal bracket supplied with the devices.
CLASSE 100 Video internal units – Table-top installation
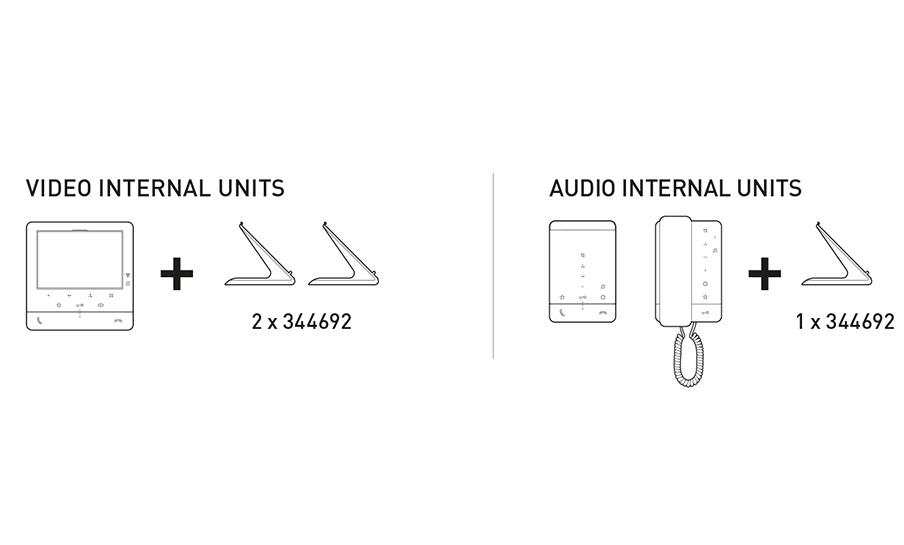
All CLASSE 100 video internal units are also suitable for table-top installation. In this case, a support, item 344692 - (2 x 344692), is required for each video internal unit.
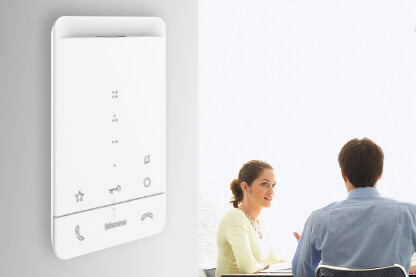
CLASSE 100 Audio internal units – Wall mounted installation
All CLASSE 100 audio internal units are wall mounted using the specific metal bracket supplied with the devices.
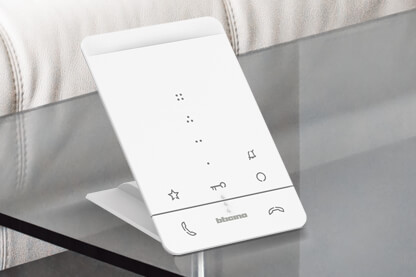
CLASSE 100 Audio internal units – Table-top installation
All CLASSE 100 audio internal units are also suitable for table-top installation. In this case, a support, item 344692 - (1 x 344692) is required for each video internal unit.
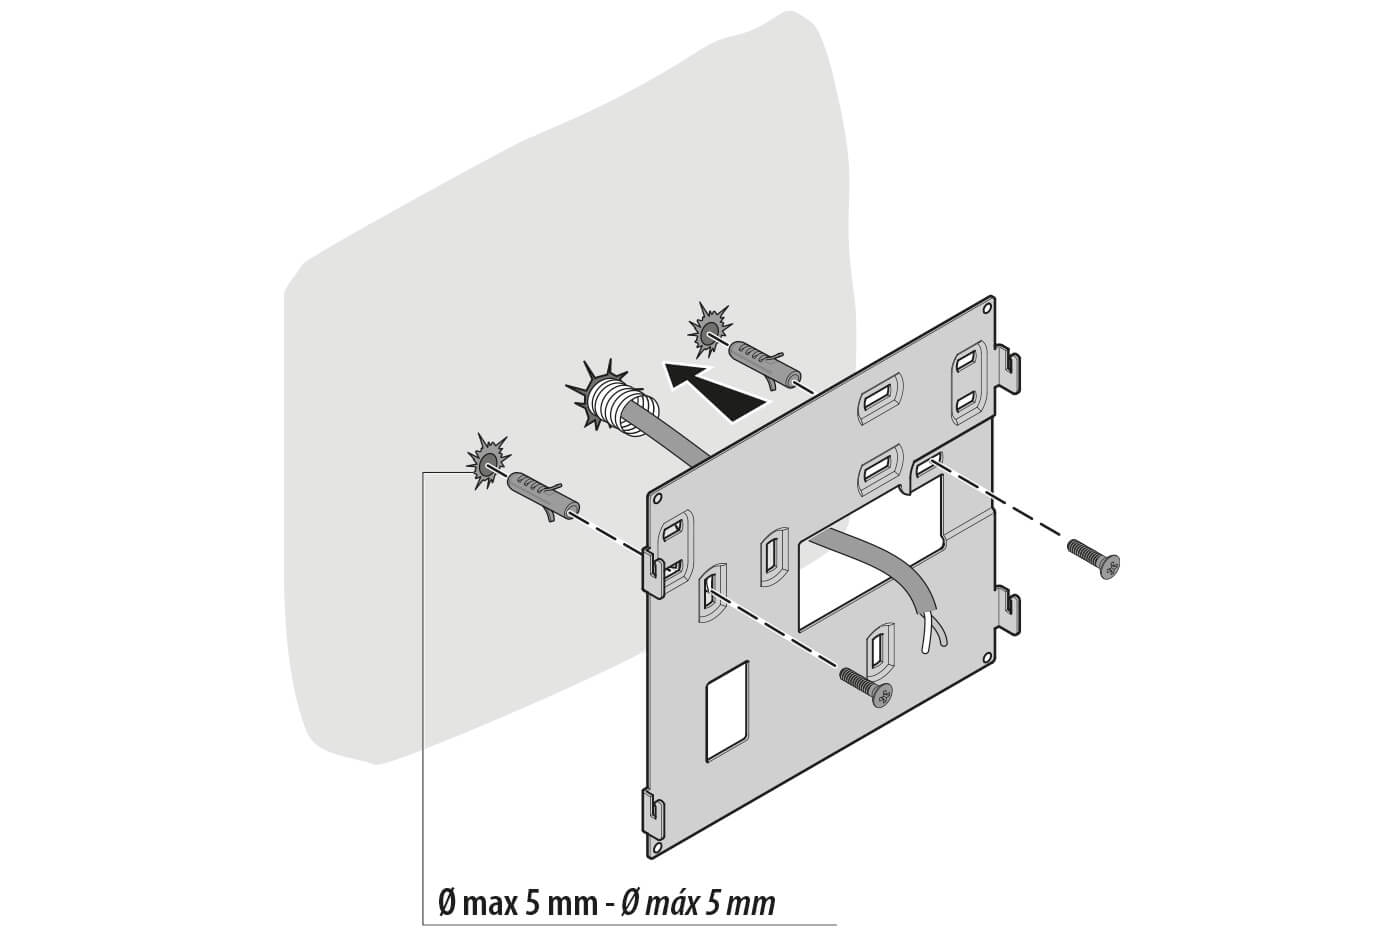
STEP 1 - Drill the holes and insert the plugs and screws to fix the bracket.
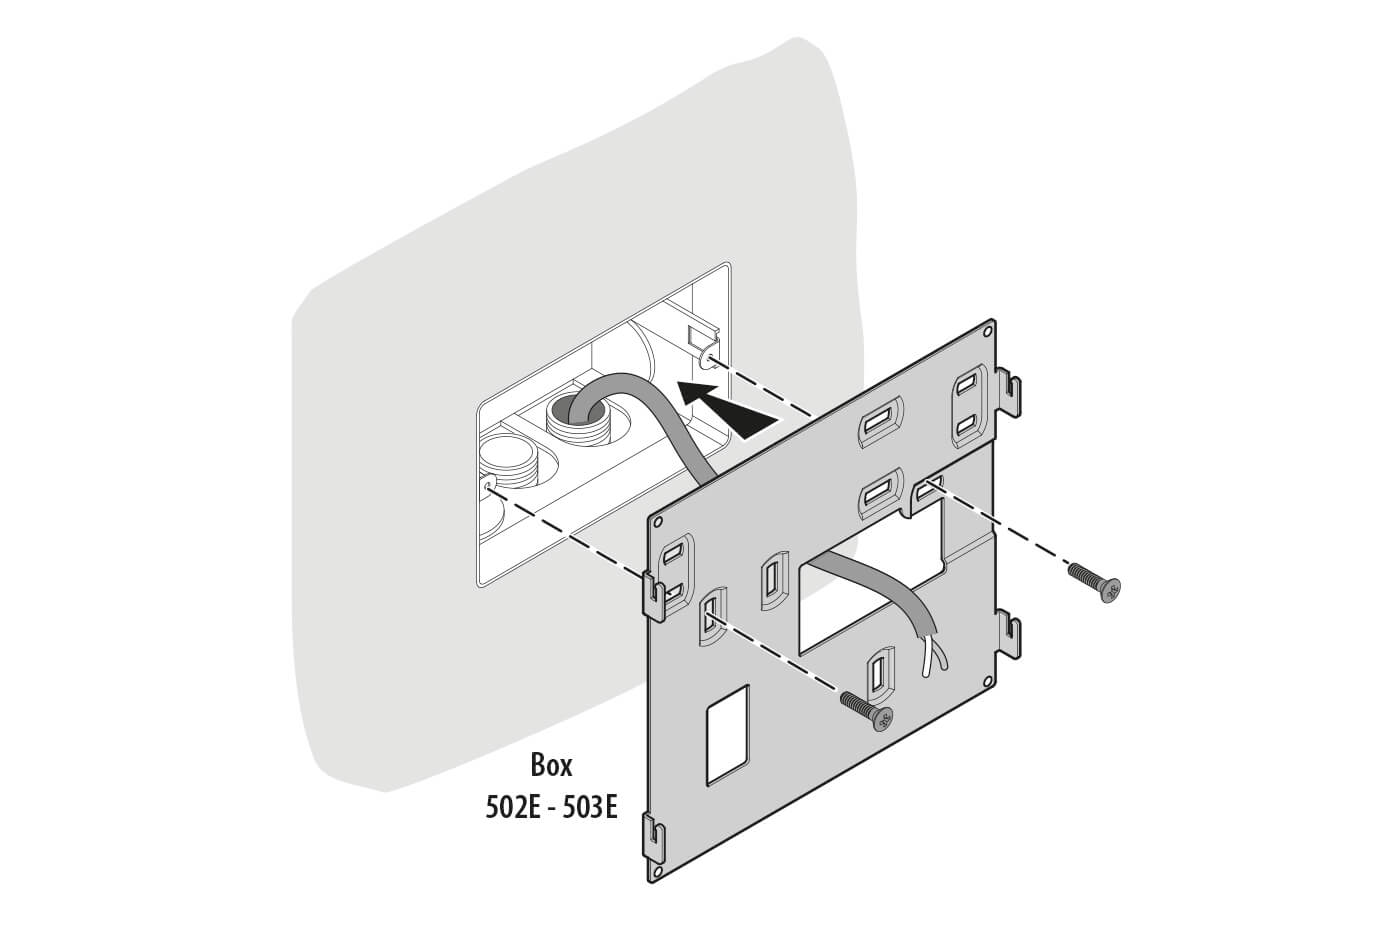
STEP 2 - Pass the BUS cable from the front through the slot in the bracket.
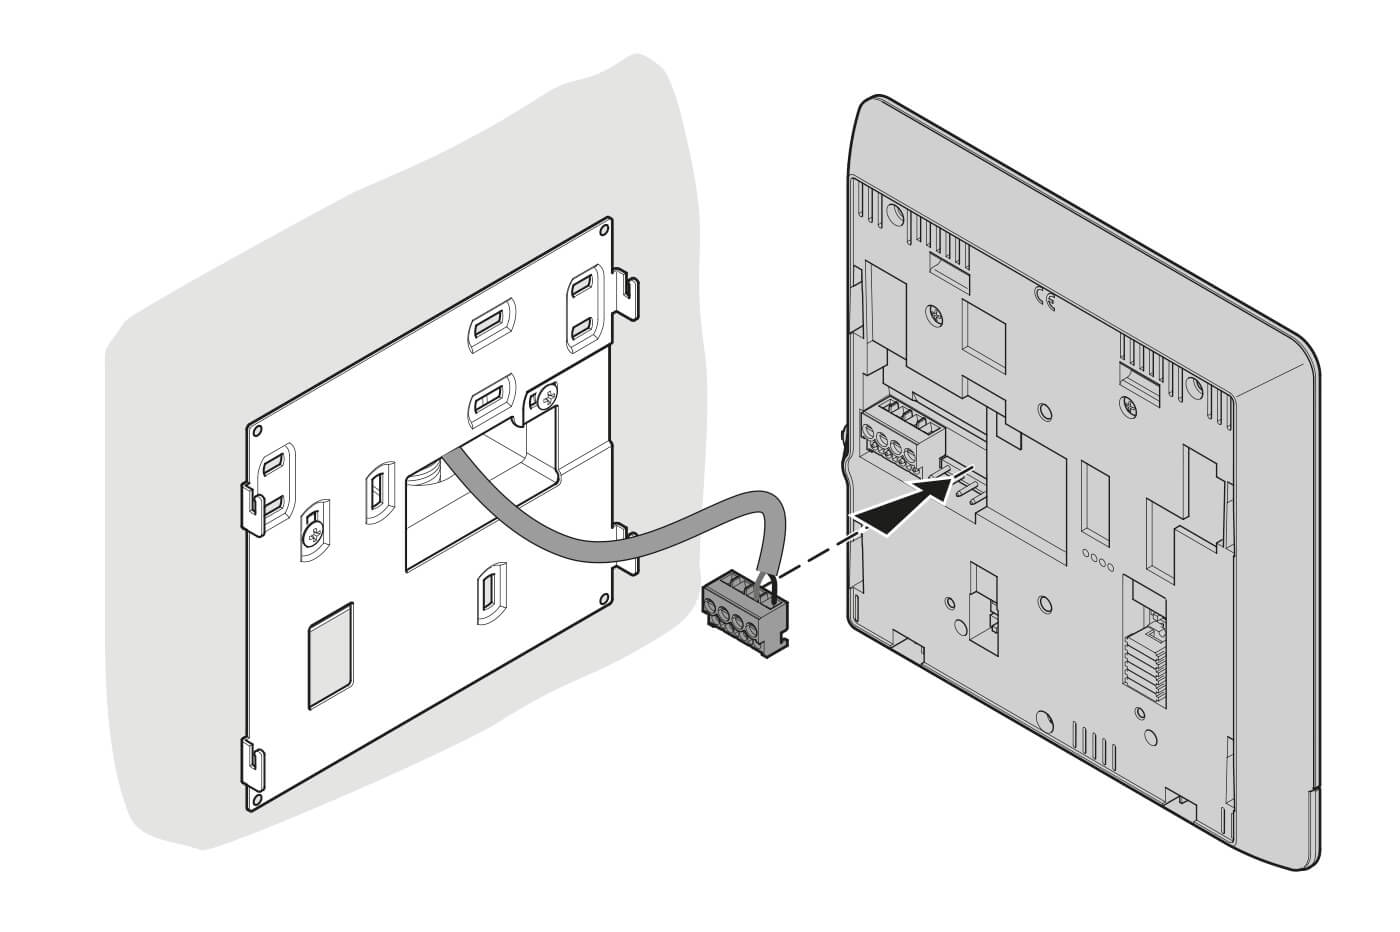
STEP 3 - Connect the two (BUS) cables to the green terminal and reposition it in its seat at the back of the video internal unit.
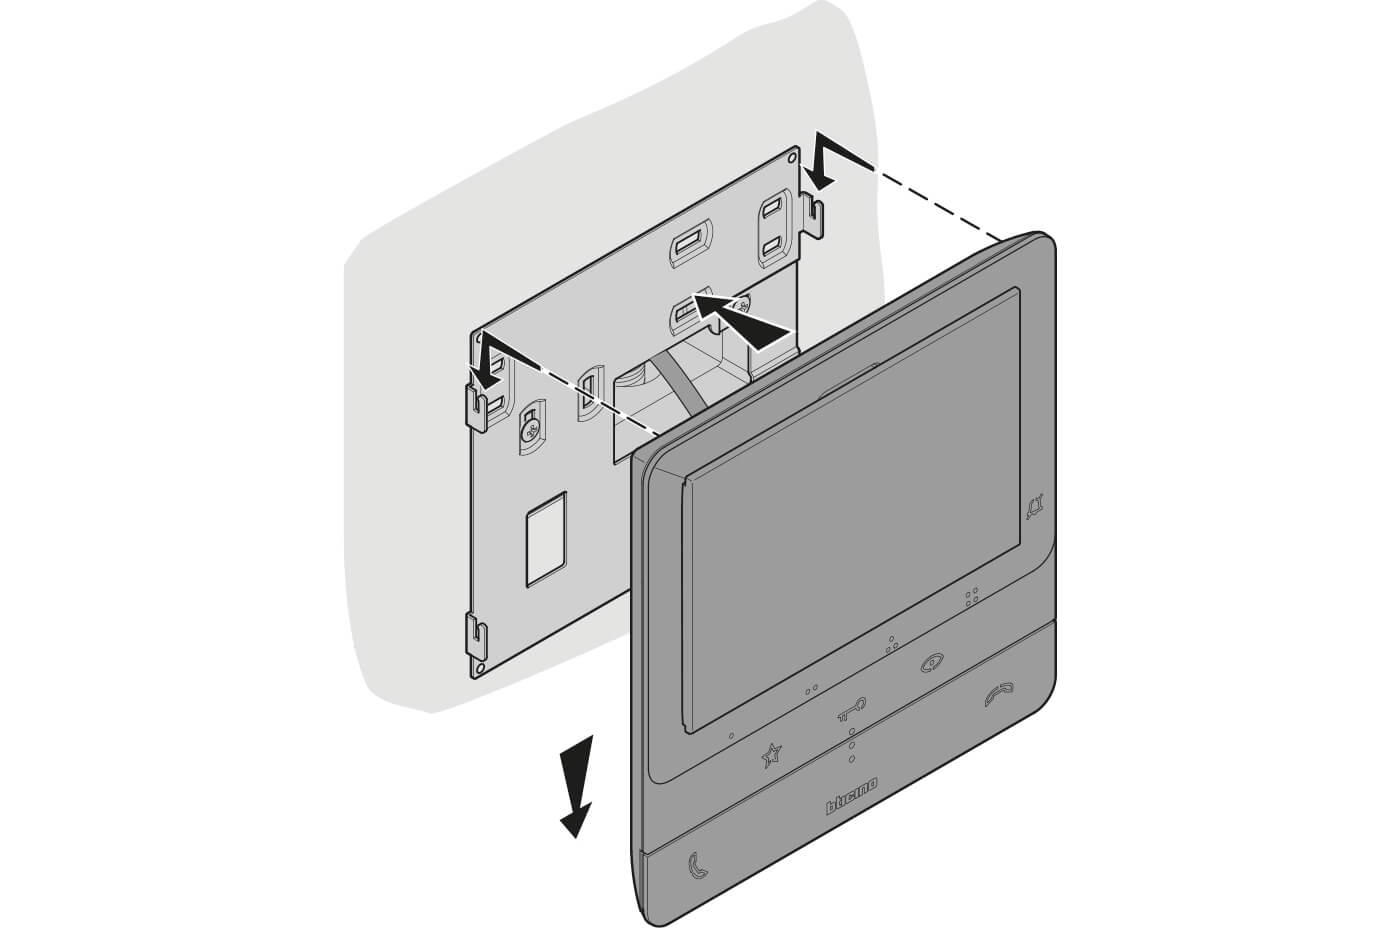
STEP 4 - Hook the video intercom onto the bracket, gently pushing it downwards.
Table-top installation
For table-top installation of CLASSE 100 audio and video internal units, the plastic support 344692 must be purchased separately. For video internal units, 2 supports 344692 are required side by side. For audio internal units, only 1 support 344692 is required.
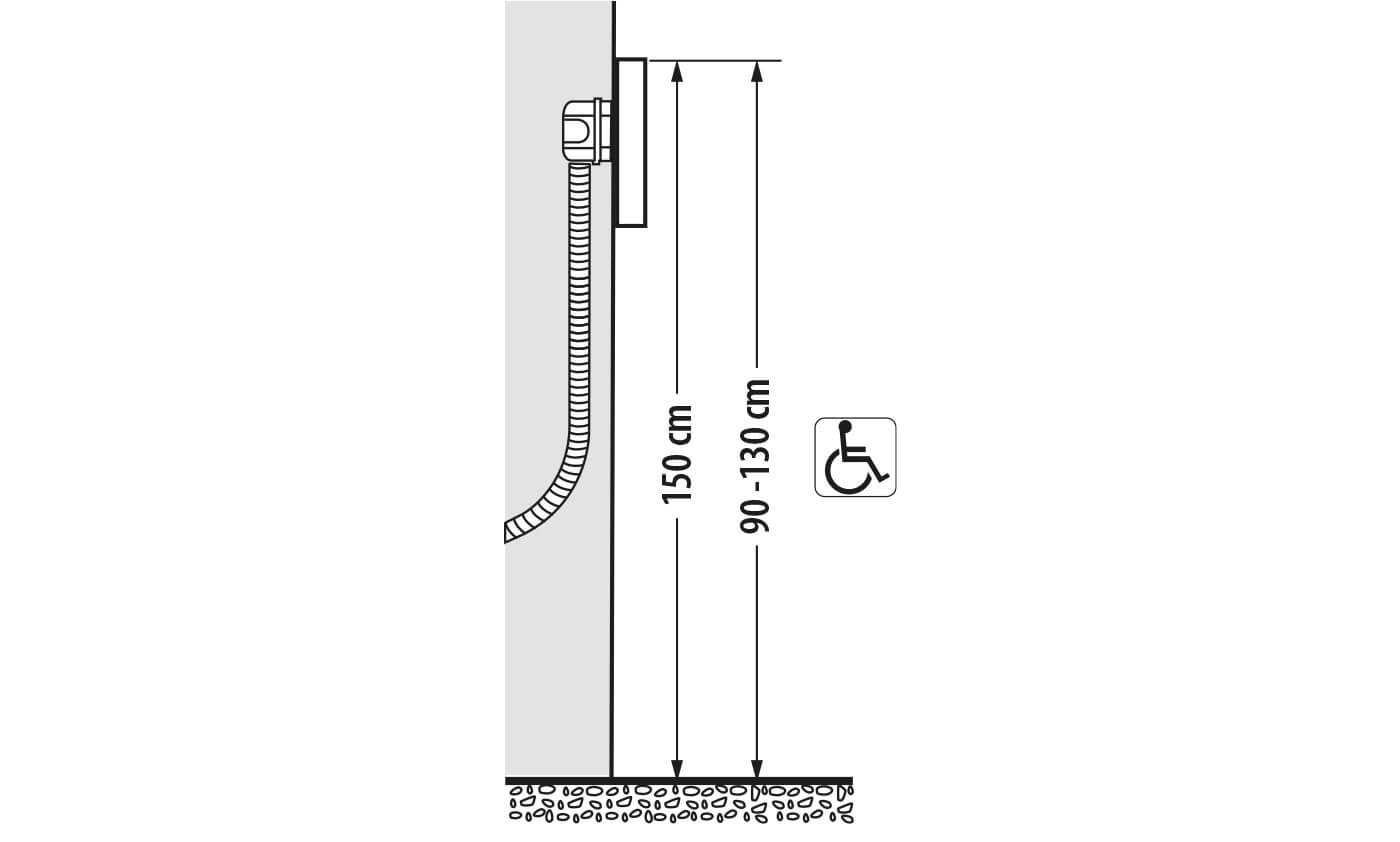
Recommended installation heights, unless otherwise required by local regulations.
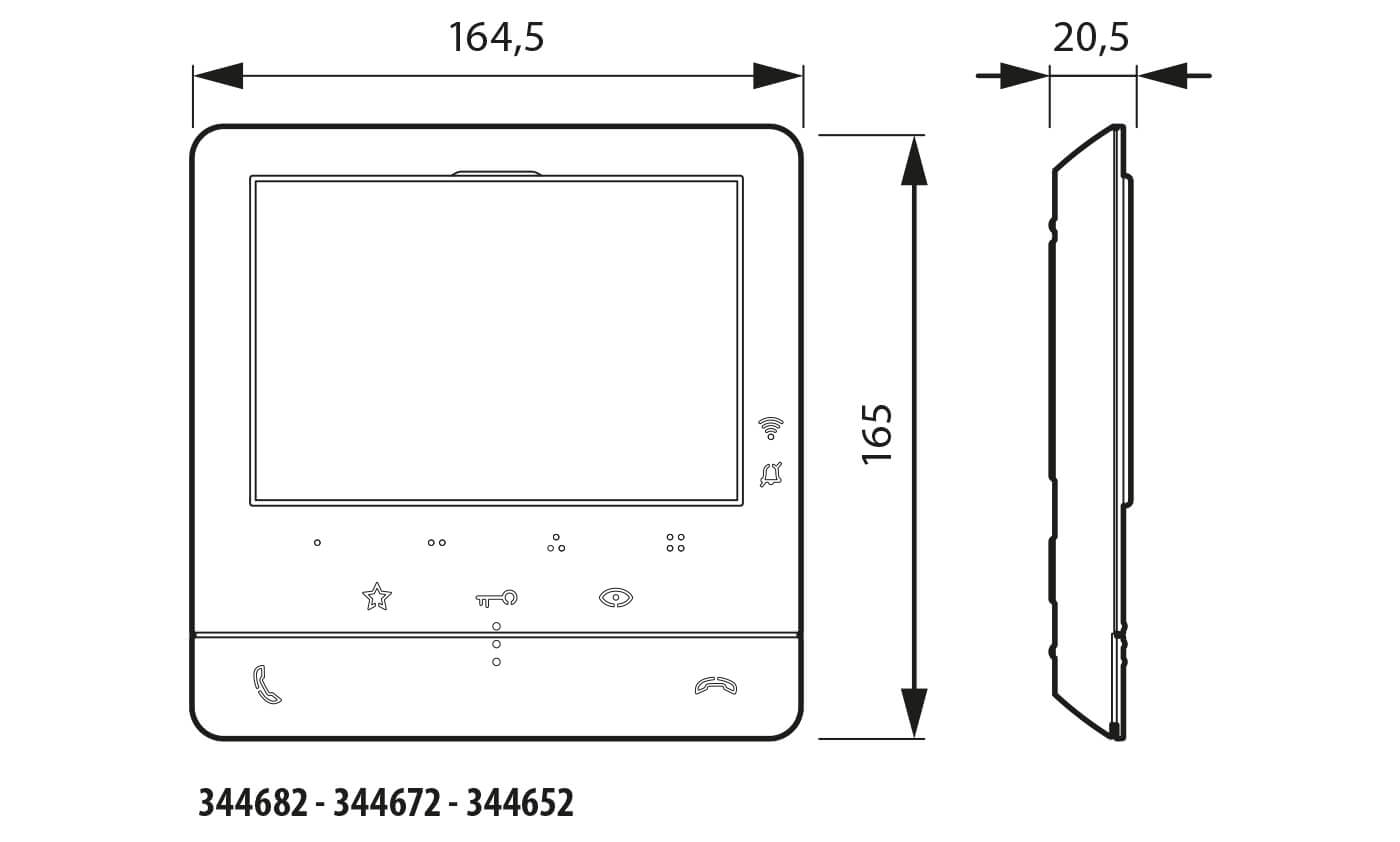
Dimensions of hands-free video internal units 344682 - 344672 - 344652. Dimensions in millimetres.
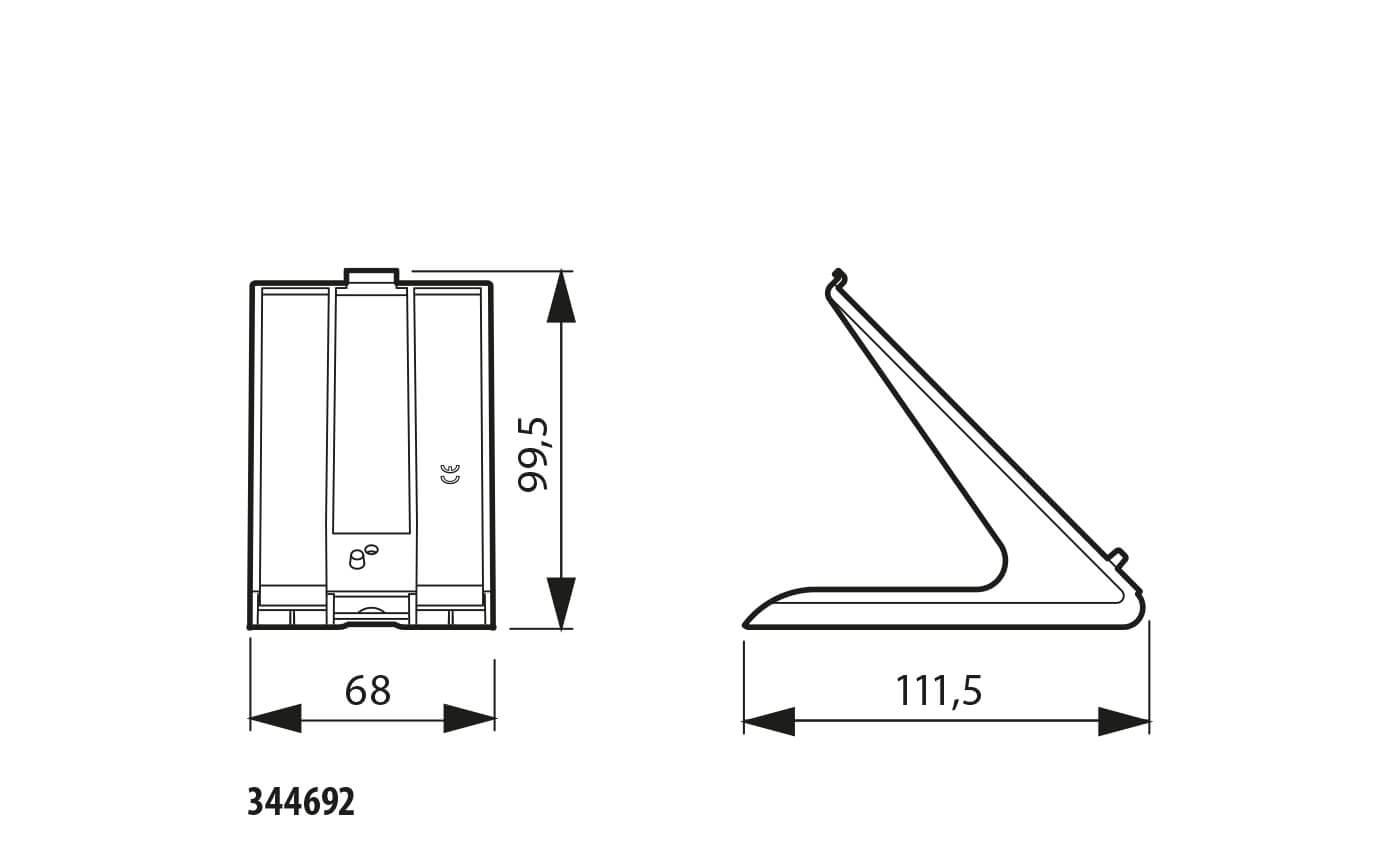
Dimensions of accessory table top support 344692.
Dimensions in millimetres.
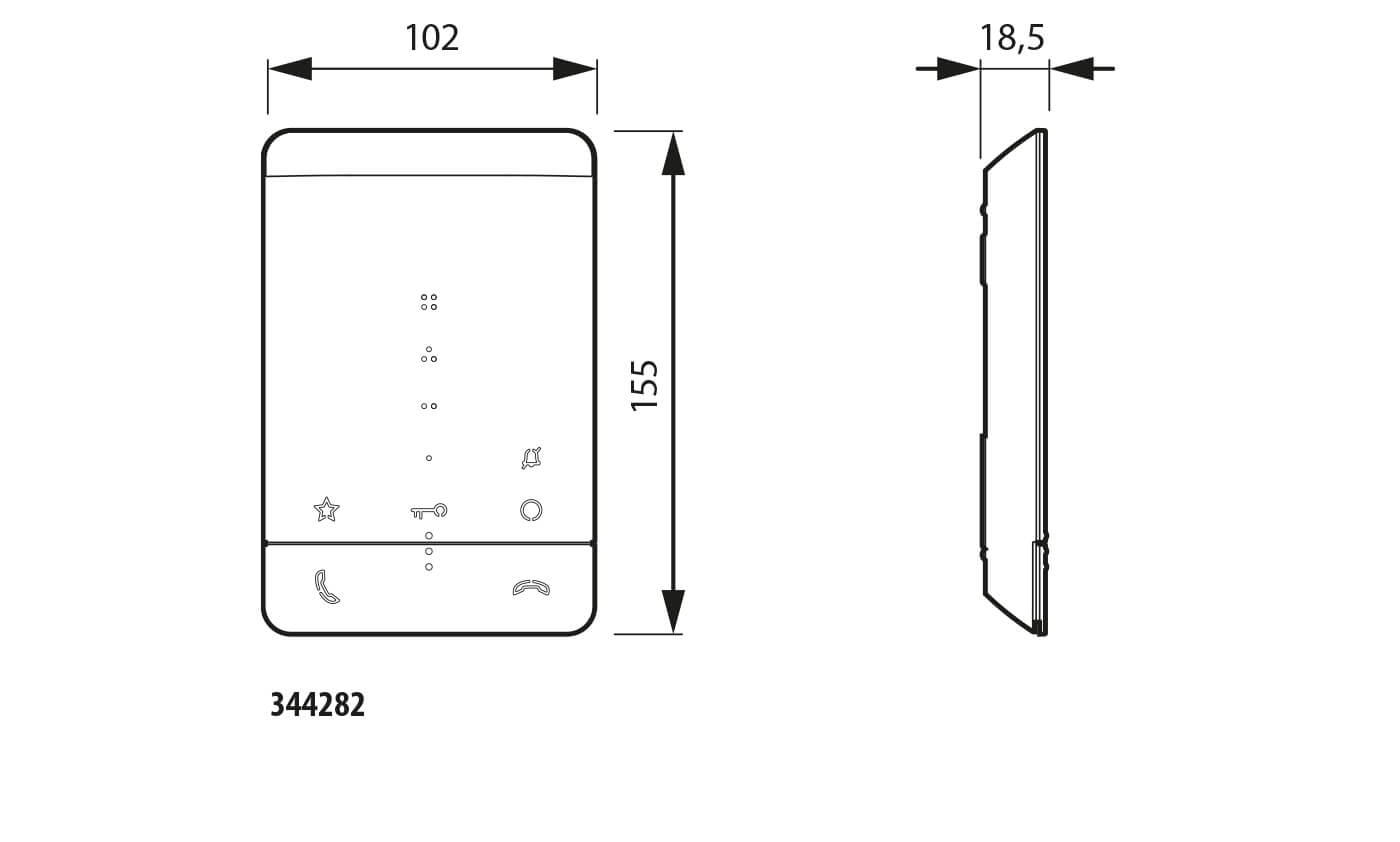
Dimensions of hands-free audio internal unit 344282.
Dimensions in millimetres.
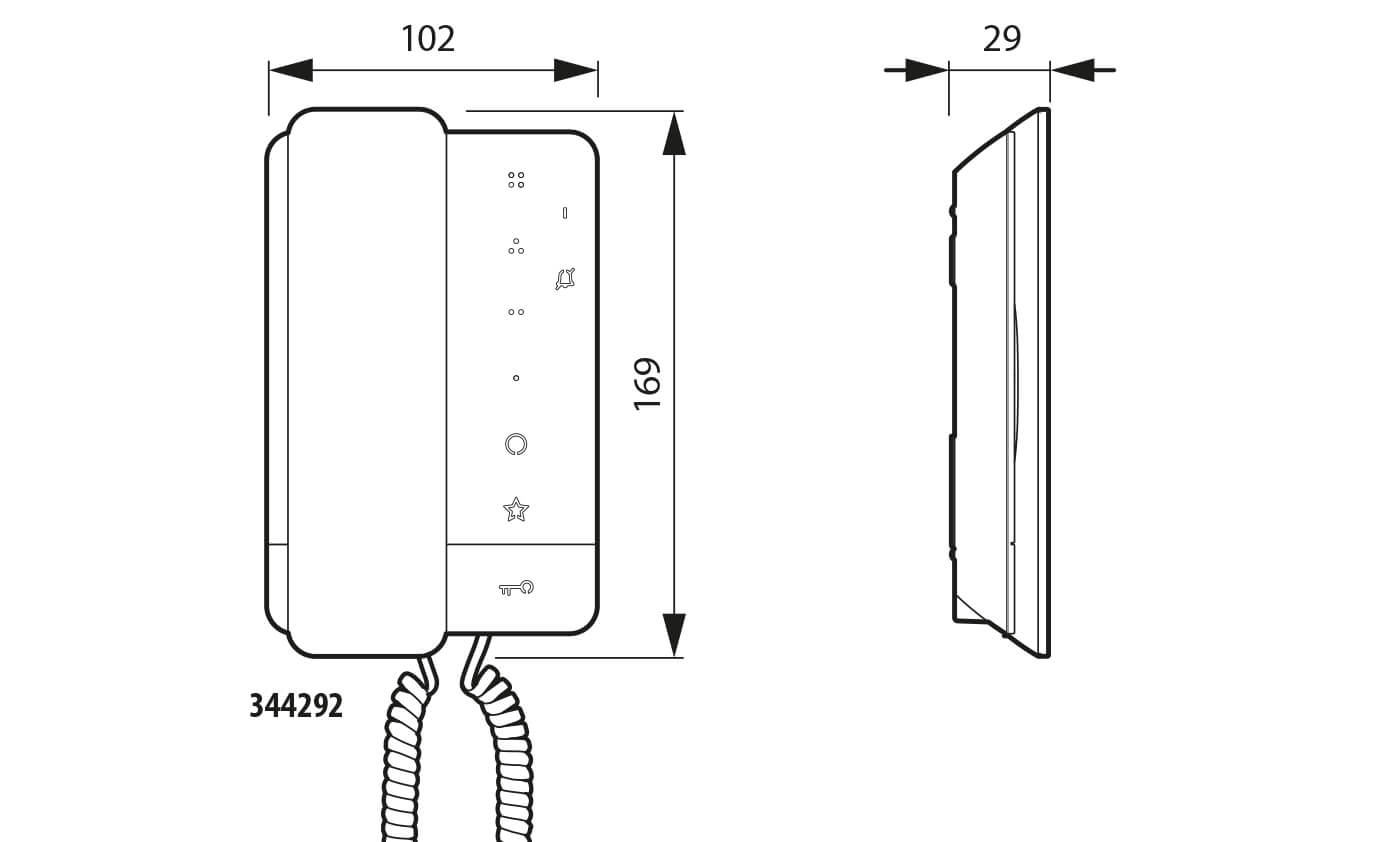
Dimensions of handset audio internal unit 344292.
Dimensions in millimetres.
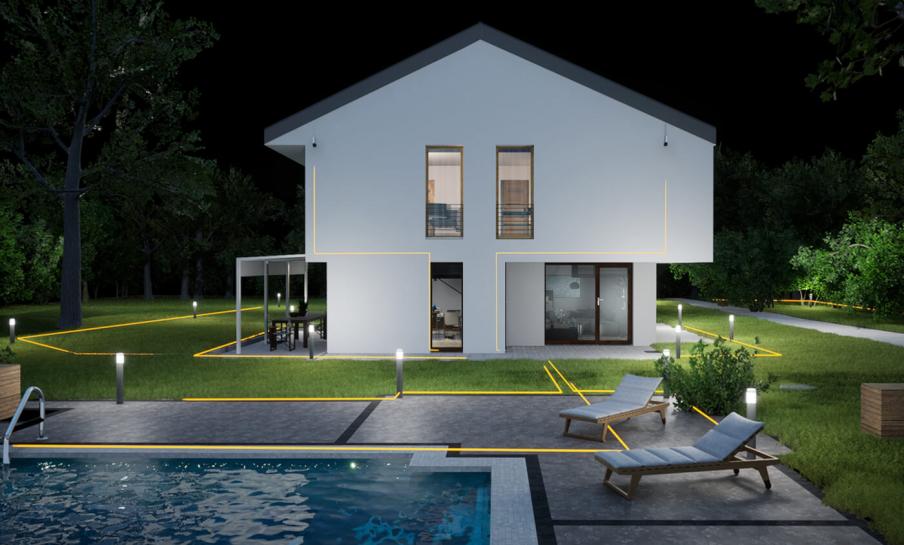
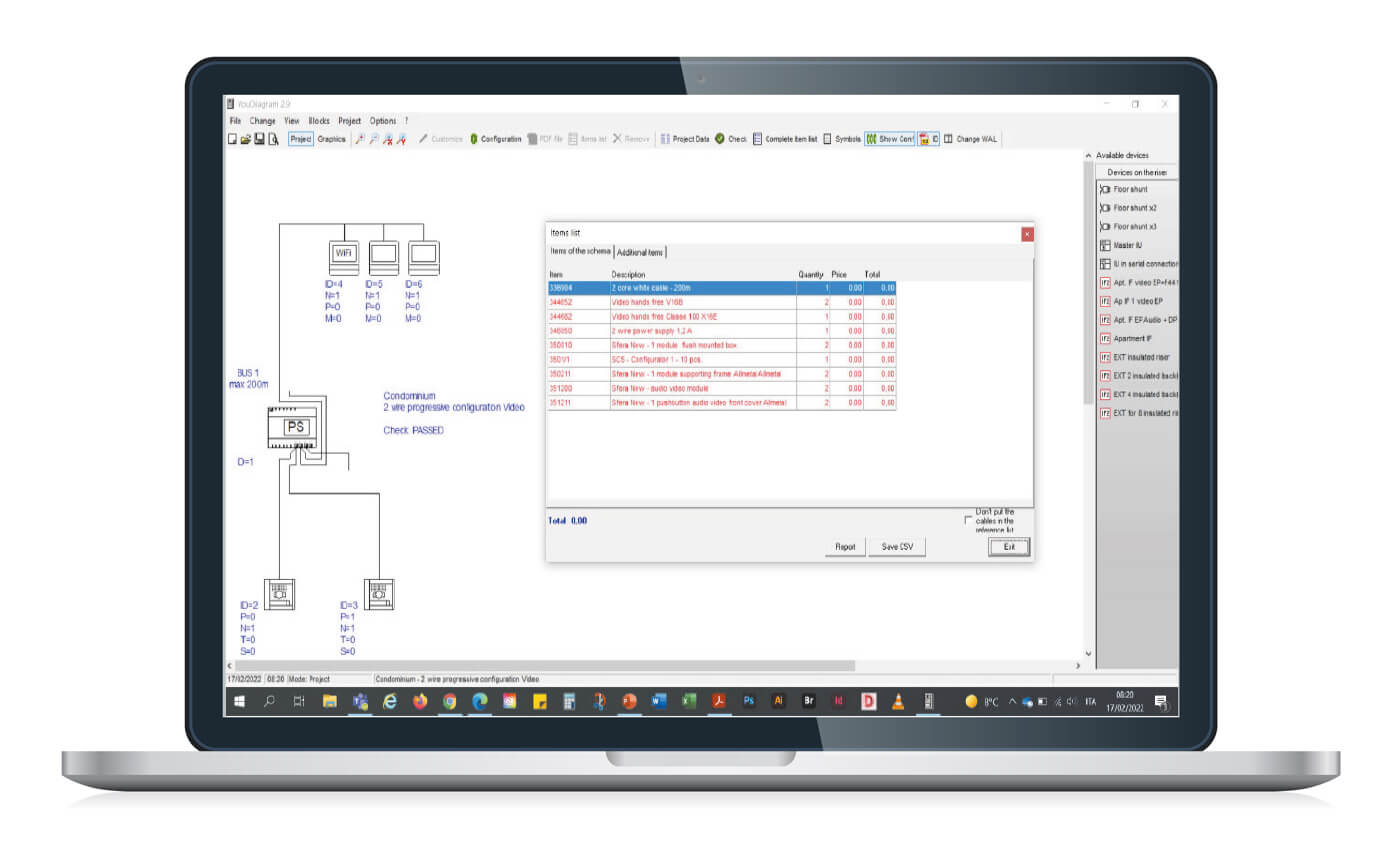
Do you need to design a new video door entry system for a villa or apartment block?
Use the video door entry system configurator.
Define your system type and the characteristics of the building in just a few steps. You will be able to choose products and functions that best suit your needs, starting from our KIT solutions. Furthermore, you will always be updated on active promotions.
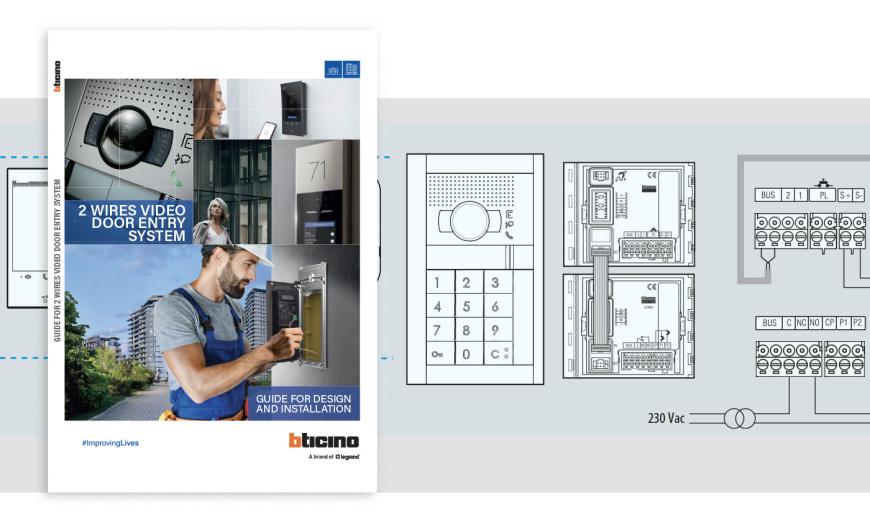
2 wires door entry system technical guide
Prepare and design your system with the technical guide. An indispensable tool for the professional with all the updated technical information useful for designing, sizing, connecting, configuring and maintaining 2 wires audio and video door entry systems.
FAQ
How do I install the Classe 100 or Classe 100X internal unit on the wall?
Use the supplied metal bracket.
Steps:
- Drill holes and insert plugs.
- Fix the bracket with screws.
- Pass the BUS cable through the slot.
- Connect BUS wires to the green terminal.
- Hook the unit onto the bracket and push down gently.
Recommended height: 160–165 cm.
Can I install Classe 100X on a table?
Yes, use accessory 344692 (two supports for video units). Place them side by side and secure the device. Ensure stable positioning and cable routing.
How do I connect Classe 100 or Classe 100X to the 2-Wire BUS system?
Connect the two BUS wires to the green terminal block on the rear of the unit. Observe polarity and ensure proper line termination using the ON/OFF micro-switch if it’s the last device on the line.
How to setup a smart video doorbell? How do I enable Wi-Fi on Classe 100X?
Go to Settings > Wi-Fi on the device. Select your network and enter credentials. The LED indicator will flash red during connection and turn steady when paired with the Home + Security app. The Classe 100X must be connected to a 2.4 GHz 802.11 b/g/n WiFi network. 5 GHz networks are not compatible.
How do I associate Classe 100X with the Home + Security app?
- Download the app (iOS/Android).
- Create or log into your account.
- Follow the guided pairing process via QR code or manual entry.
- Confirm device association in the app.
BTicino Classe 100X with Netatmo : commissioning with Home + Security app - Smartphone Android.
BTicino Classe 100X with Netatmo : commissioning with Home + Security app - Smartphone iOS
How do I program the touch keys for custom functions?
Access Settings > Programmable Keys. Assign actions like intercom, additional door lock, or generic activations. Save changes before exiting.
How do I adjust audio and video settings during a call?
Press the joystick to display adjustment icons. Move up/down to select speaker volume, brightness, contrast, or color. Confirm with a touch.
How do I update the firmware of Classe 100X?
Connect via the mini USB port on the rear and use BTicino’s update tool. Ensure the device is powered and do not disconnect during the process.
Why is the Wi-Fi LED flashing red?
It means Wi-Fi is enabled but not connected. Check SSID, password, and signal strength. If steady red, data exchange with the app is active.
What should I do if the device does not power on?
Verify BUS wiring and voltage (20 – 27 V). Check line termination and ensure no short circuits. If still off, inspect the micro-switch and replace the unit if faulty.
How do I fix poor video quality on the display?
Adjust brightness, contrast, and color via the joystick. If the issue persists, check camera settings on the entrance panel and clean the lens.
Why can’t I open the door lock from the app?
Ensure the lock is correctly wired to the entrance panel and the app is paired. Check network stability and update firmware if needed.
How do I enable the Professional Studio (Office) function?
Press the dedicated touch key. A white LED will flash when active. This function disables incoming calls temporarily for privacy.