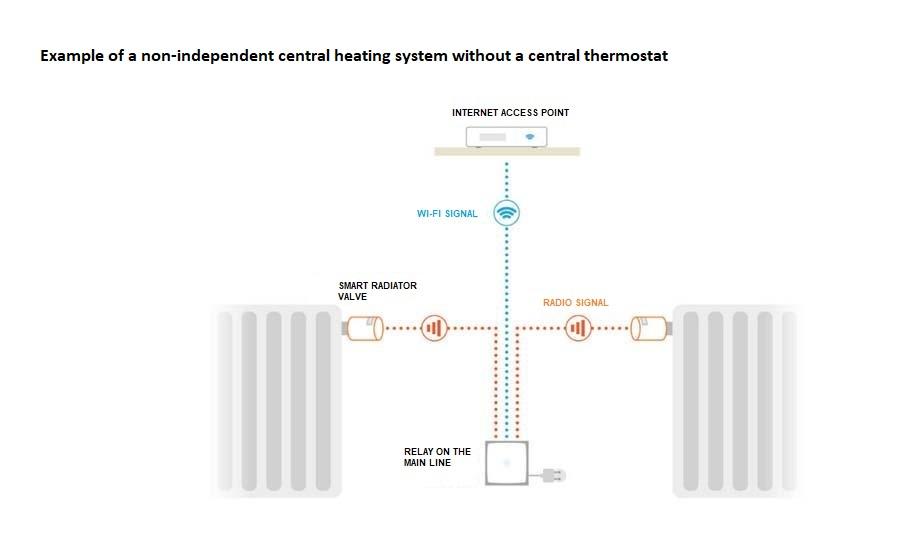
Installation in a non-independent central heating system without a central thermostat
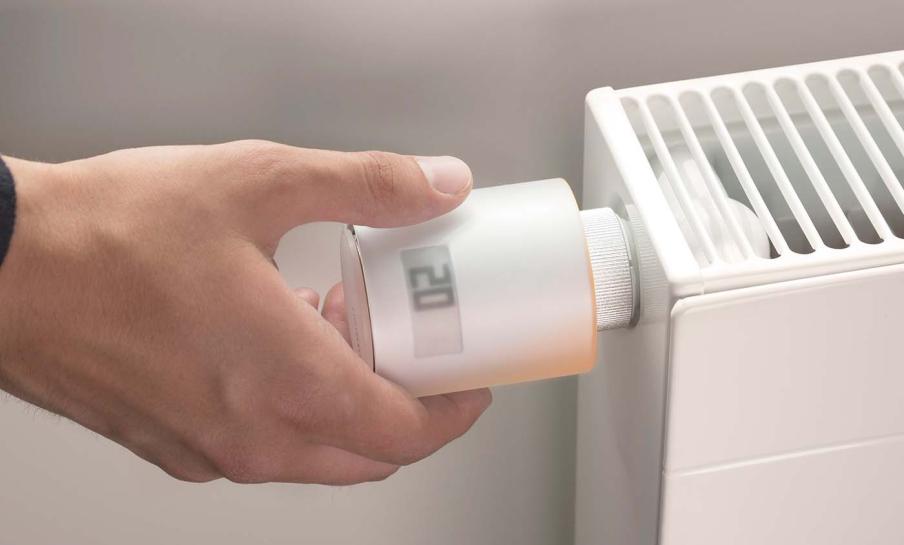
In this type of installation, the Smart Thermostatic Valves regulate the flow of hot water from the building's pipes.
The Smart Thermostatic Valves are wirelessly connected to the Relay included in the kit.
The Netatmo Relay connects to the Internet via Wi-Fi and can be controlled remotely via the App.

Maximum compatibility
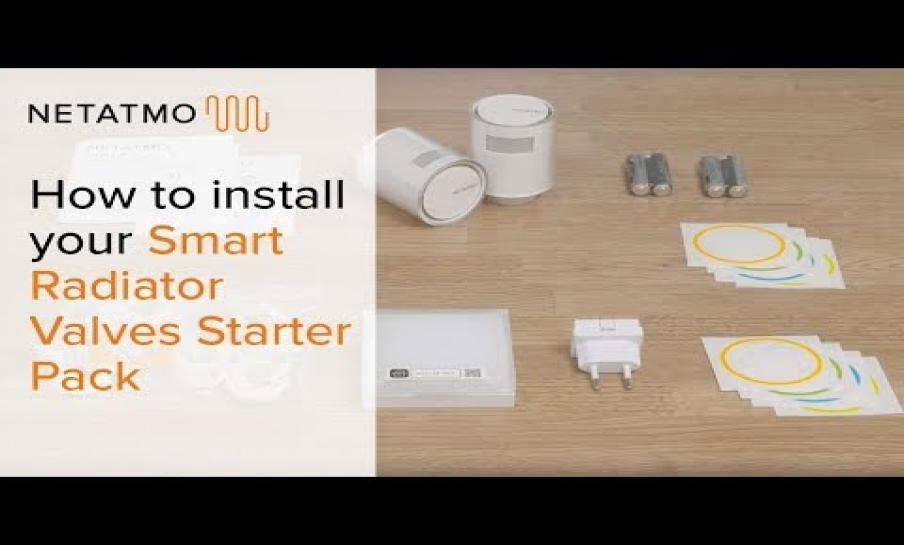
The kit includes 2x10 adapters to ensure maximum compatibility with existing Thermostatic Valve bodies (Danfoss, M30, Giacomini and others).

Easy to install in less than 10 minutes
Easily replace the existing Thermostatic Valves, even in winter when the radiators are running.

No computer skills are required for the installation
Simply download the customer App, enter the customer's Wi-Fi network password and select the rooms where you want to install the valves.

Expandable with Additional Smart Valves
Offer to your customers a complete heating solution by adding the Smart Thermostatic Valves to control several rooms.
Compatibility
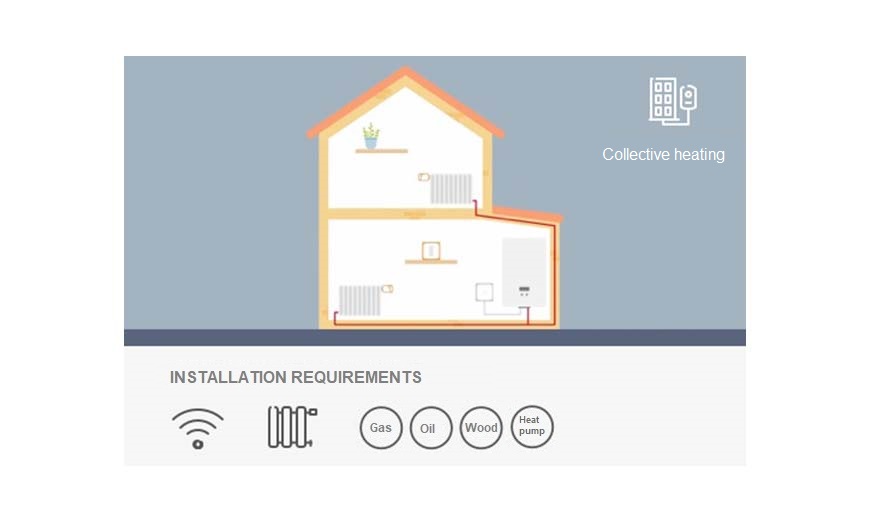
Non-independent central heating
A central heating system is defined as a boiler that produces heat for a group of apartments in a building.
Installation requirements:
- a private Wi-Fi network and a compatible system,
- one of the following energy sources: gas, oil, wood, heat pump.
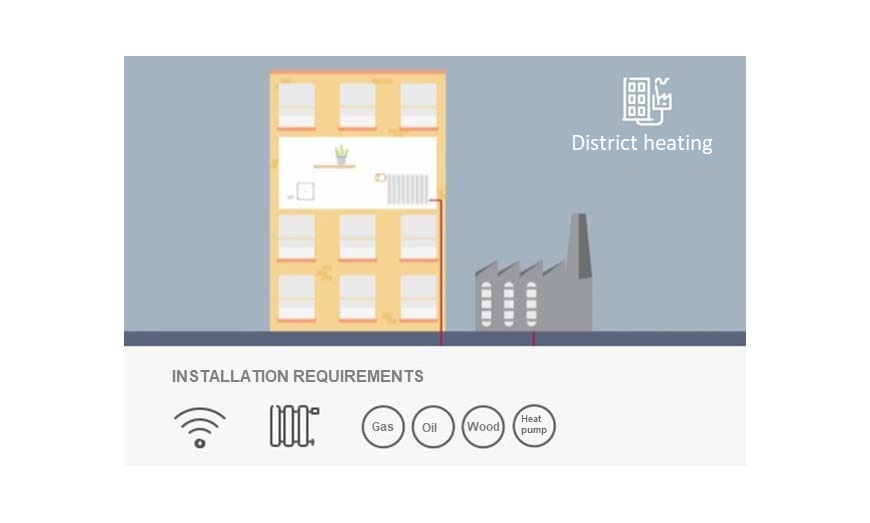
District heating
District heating is an electric power plant that produces heat for a group of buildings or an entire neighbourhood.
Installation requirements:
- a private Wi-Fi network and a compatible system,
- one of the following energy sources: gas, oil, wood, heat pump.
FAQ
How do I install my Netatmo Smart Weather Station for the first time?
Start by placing the Indoor Module in a central area of your home, away from heat sources and windows. Plug it into the power adapter included in the box. Then download the Home + Control app from the App Store or Google Play, create an account, and follow the on-screen steps to connect the module to your Wi-Fi (2.4 GHz only). For the Outdoor Module, insert the batteries, place it under a canopy or balcony (protected from rain and direct sun), and pair it via the app.
Why can’t my Weather Station connect to Wi-Fi?
The station only works with 2.4 GHz Wi-Fi networks. Public or corporate networks, captive portals, and WPA3 security are not supported. Check that your smartphone is on the same network and that Bluetooth is enabled during setup. If the LED doesn’t flash green when powered, try another outlet or cable. Restart your router and the station, then retry pairing in the app.
How do I add extra modules like a Pluviometer or Anemometer?
Open the Home + Control app, select “Add a module,” and follow the pairing instructions. For physical installation:
- Pluviomer or rain gauge – mount horizontally on a stable surface, away from obstructions.
- Anemometer or wind gauge – place at least 1 meter above the roof for accurate readings.
Ensure both are within range of the indoor module.