How to install Living NOW
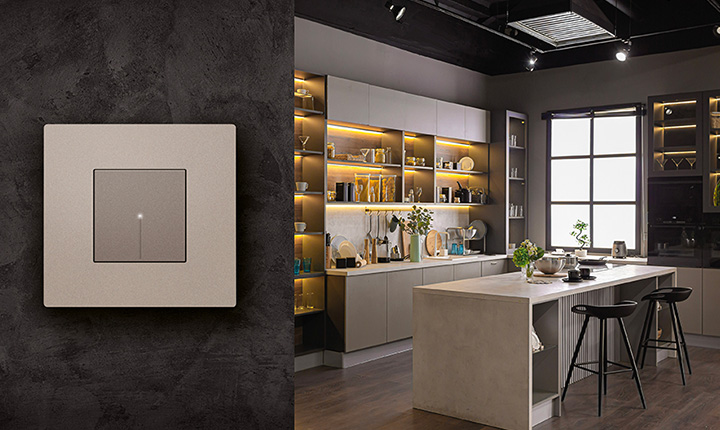
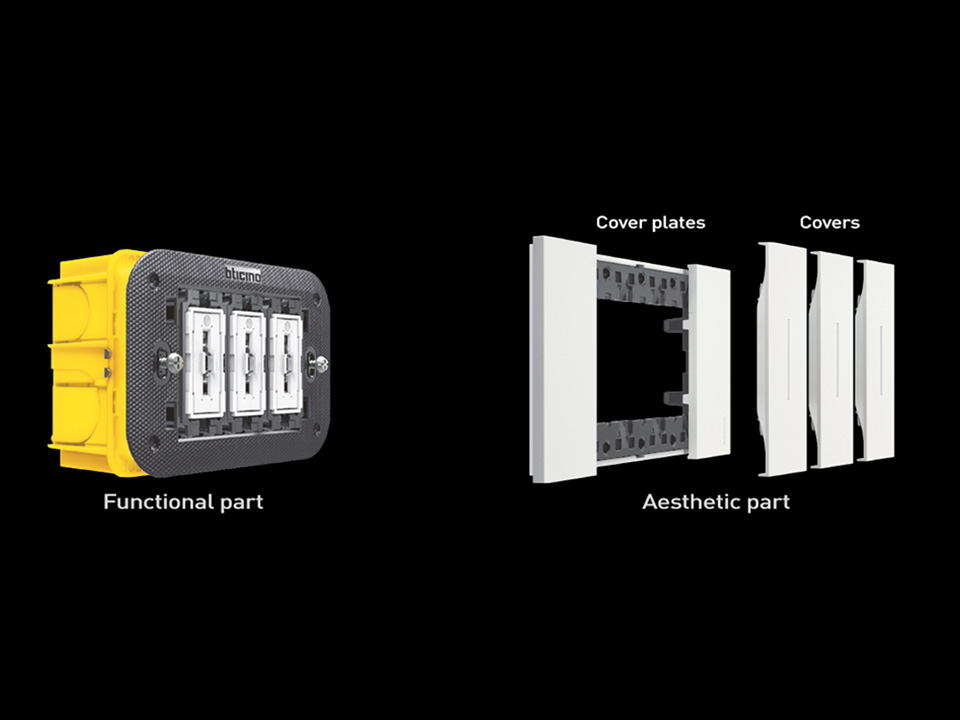
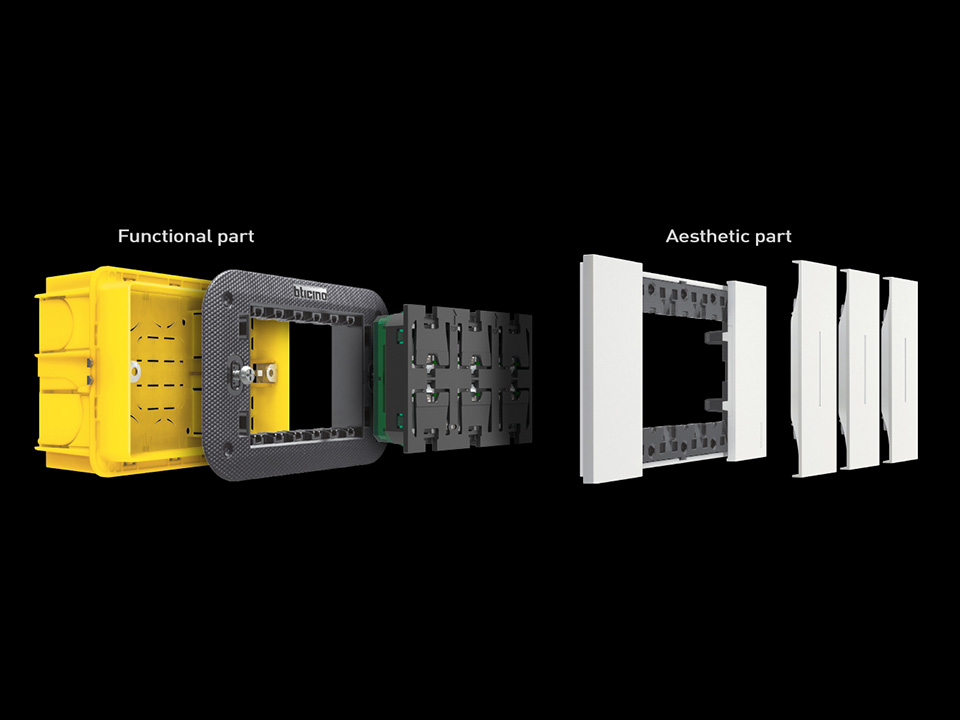
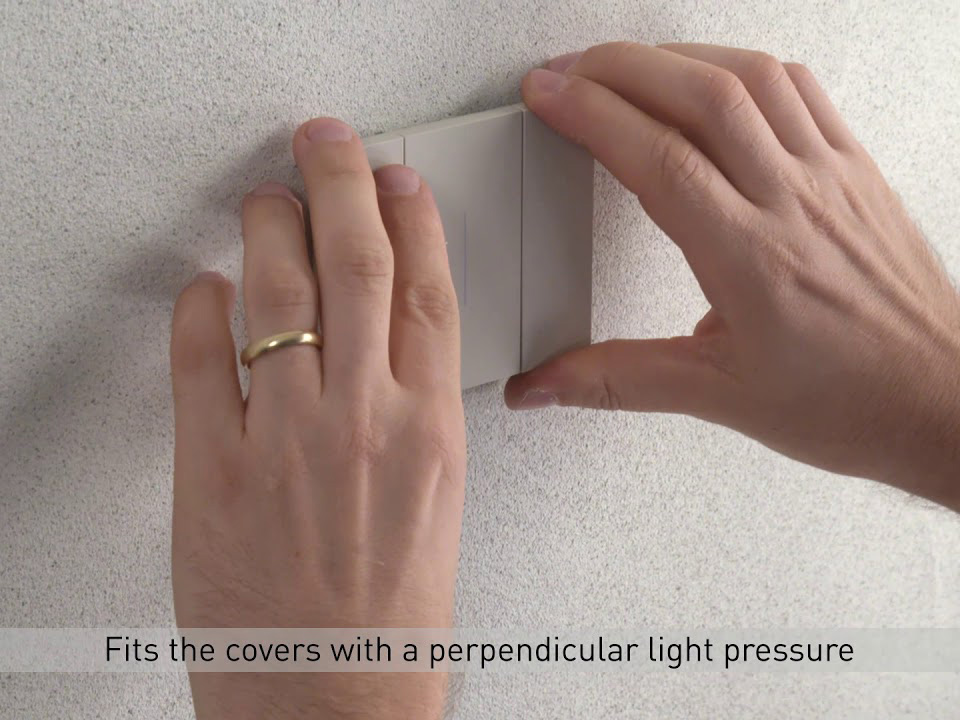
With Living Now, aesthetic part (covers and cover plates) and functional part (functions) are separate.
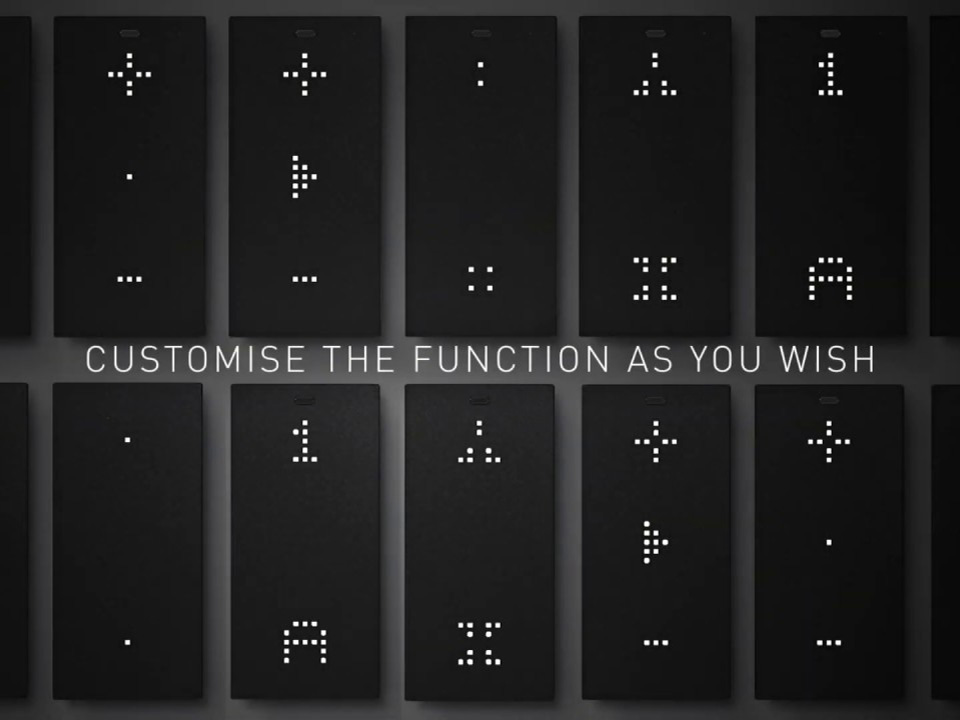
Separate functions and aesthetics for maximum flexibility
The aesthetic components (covers and cover plates) are fully independent from the functional mechanisms, enabling easy customization and replacement at any time.
Standard and smart functions
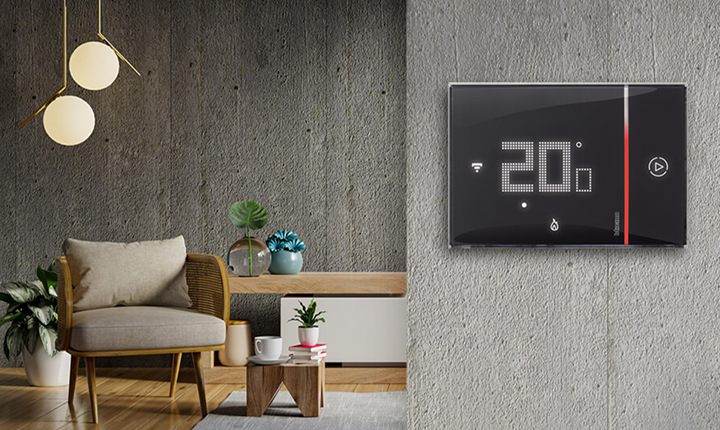
MyHOME functions
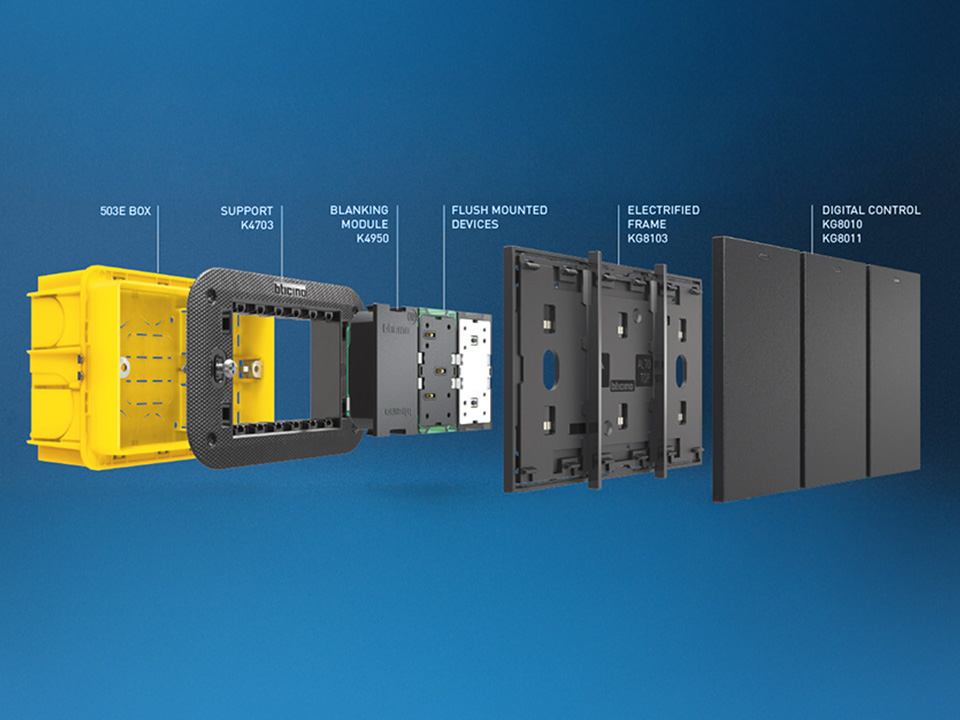
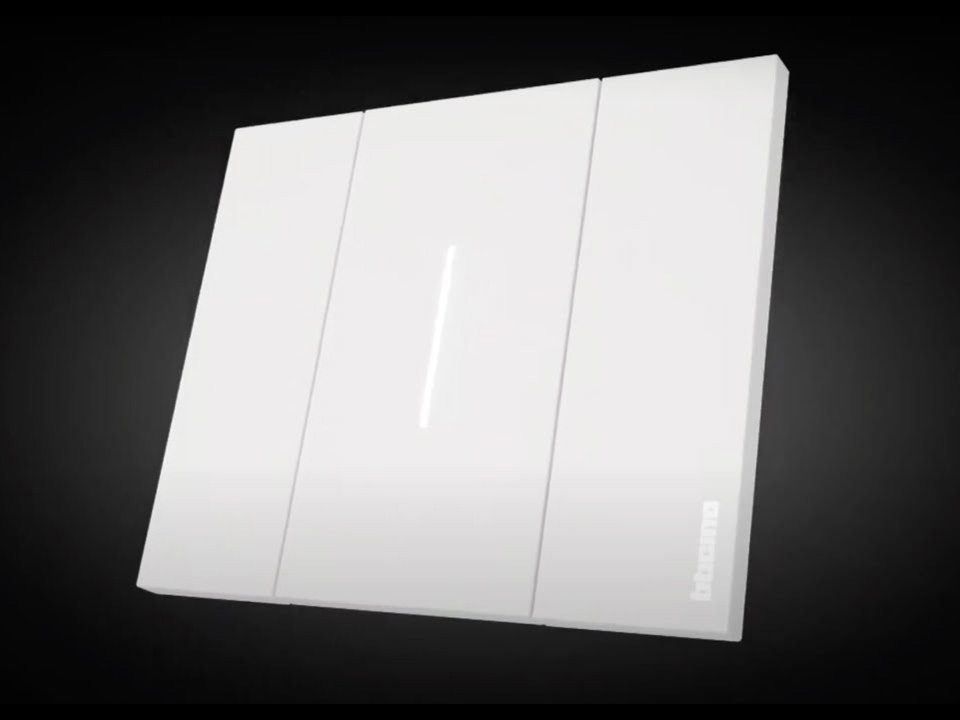
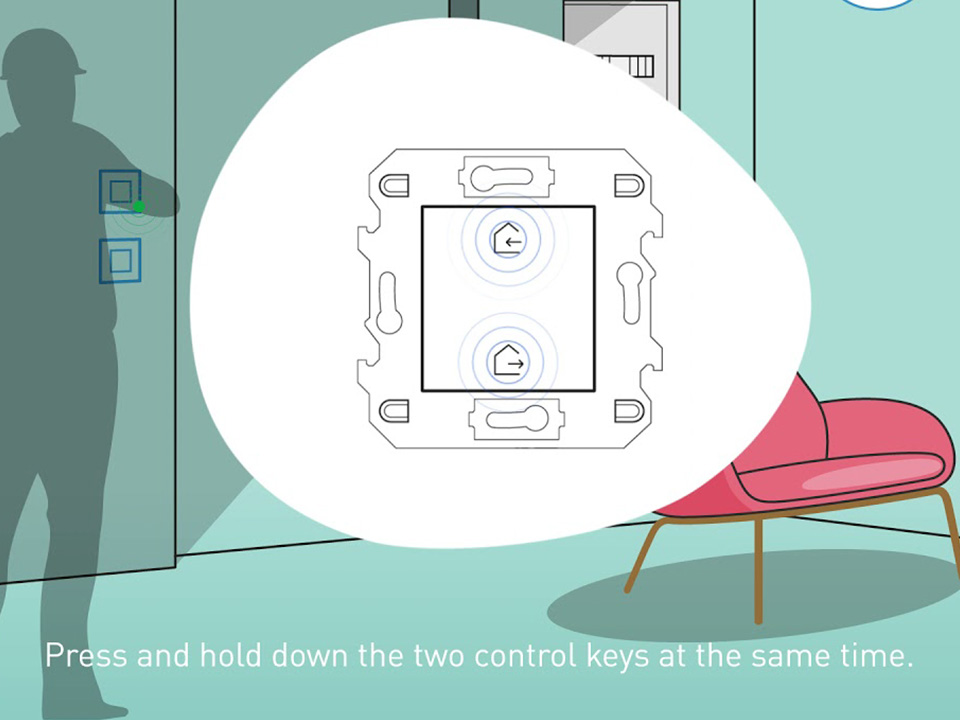
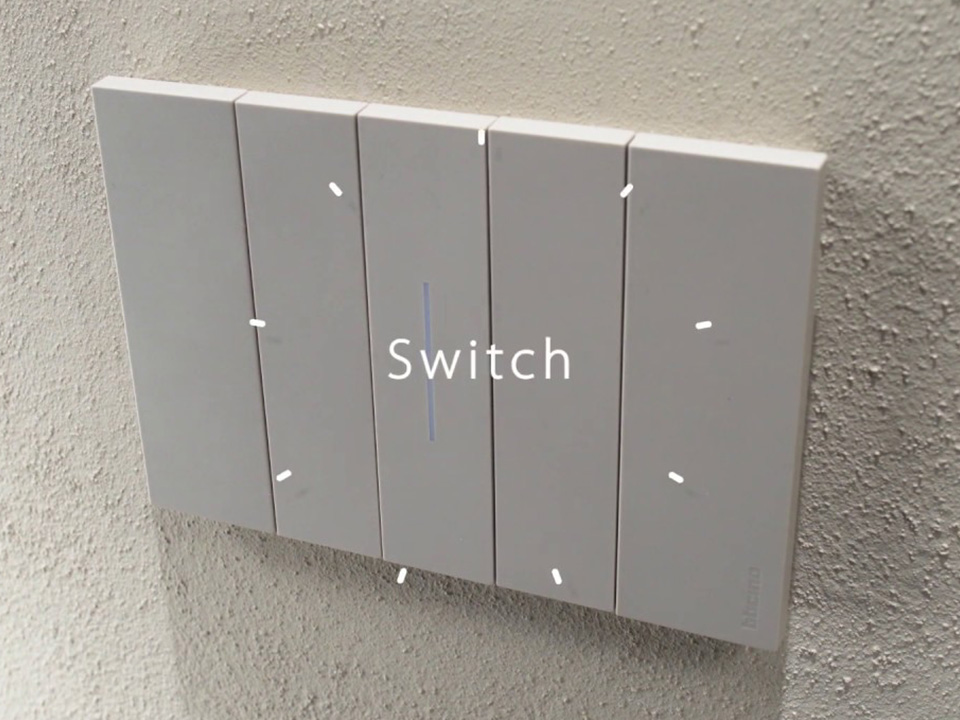
Digital controls
Two-modules video tutorials

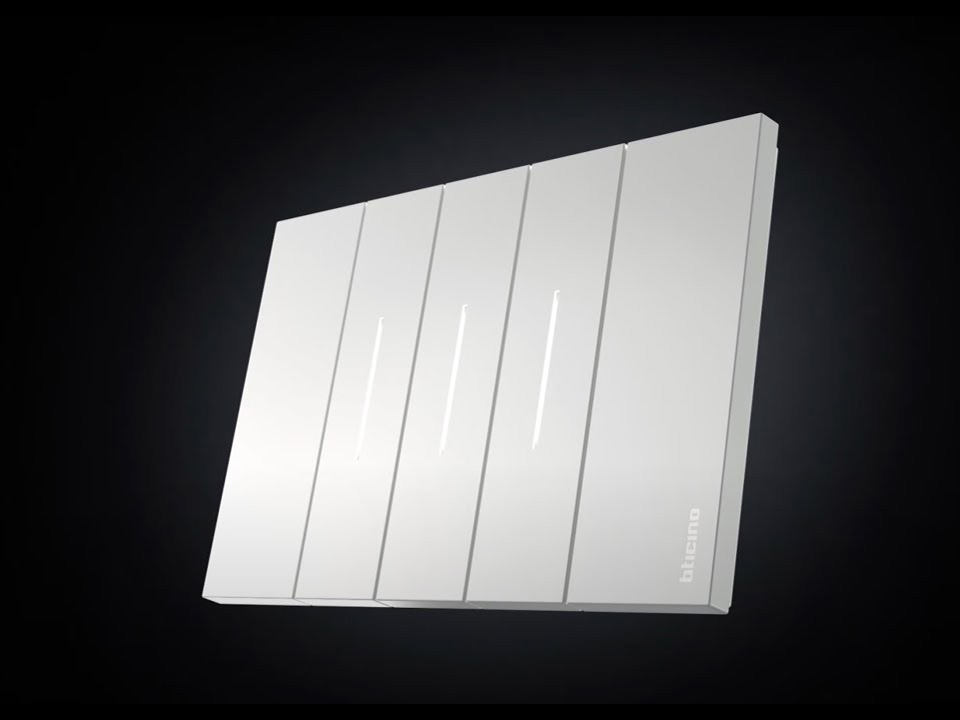
Three-modules video tutorials
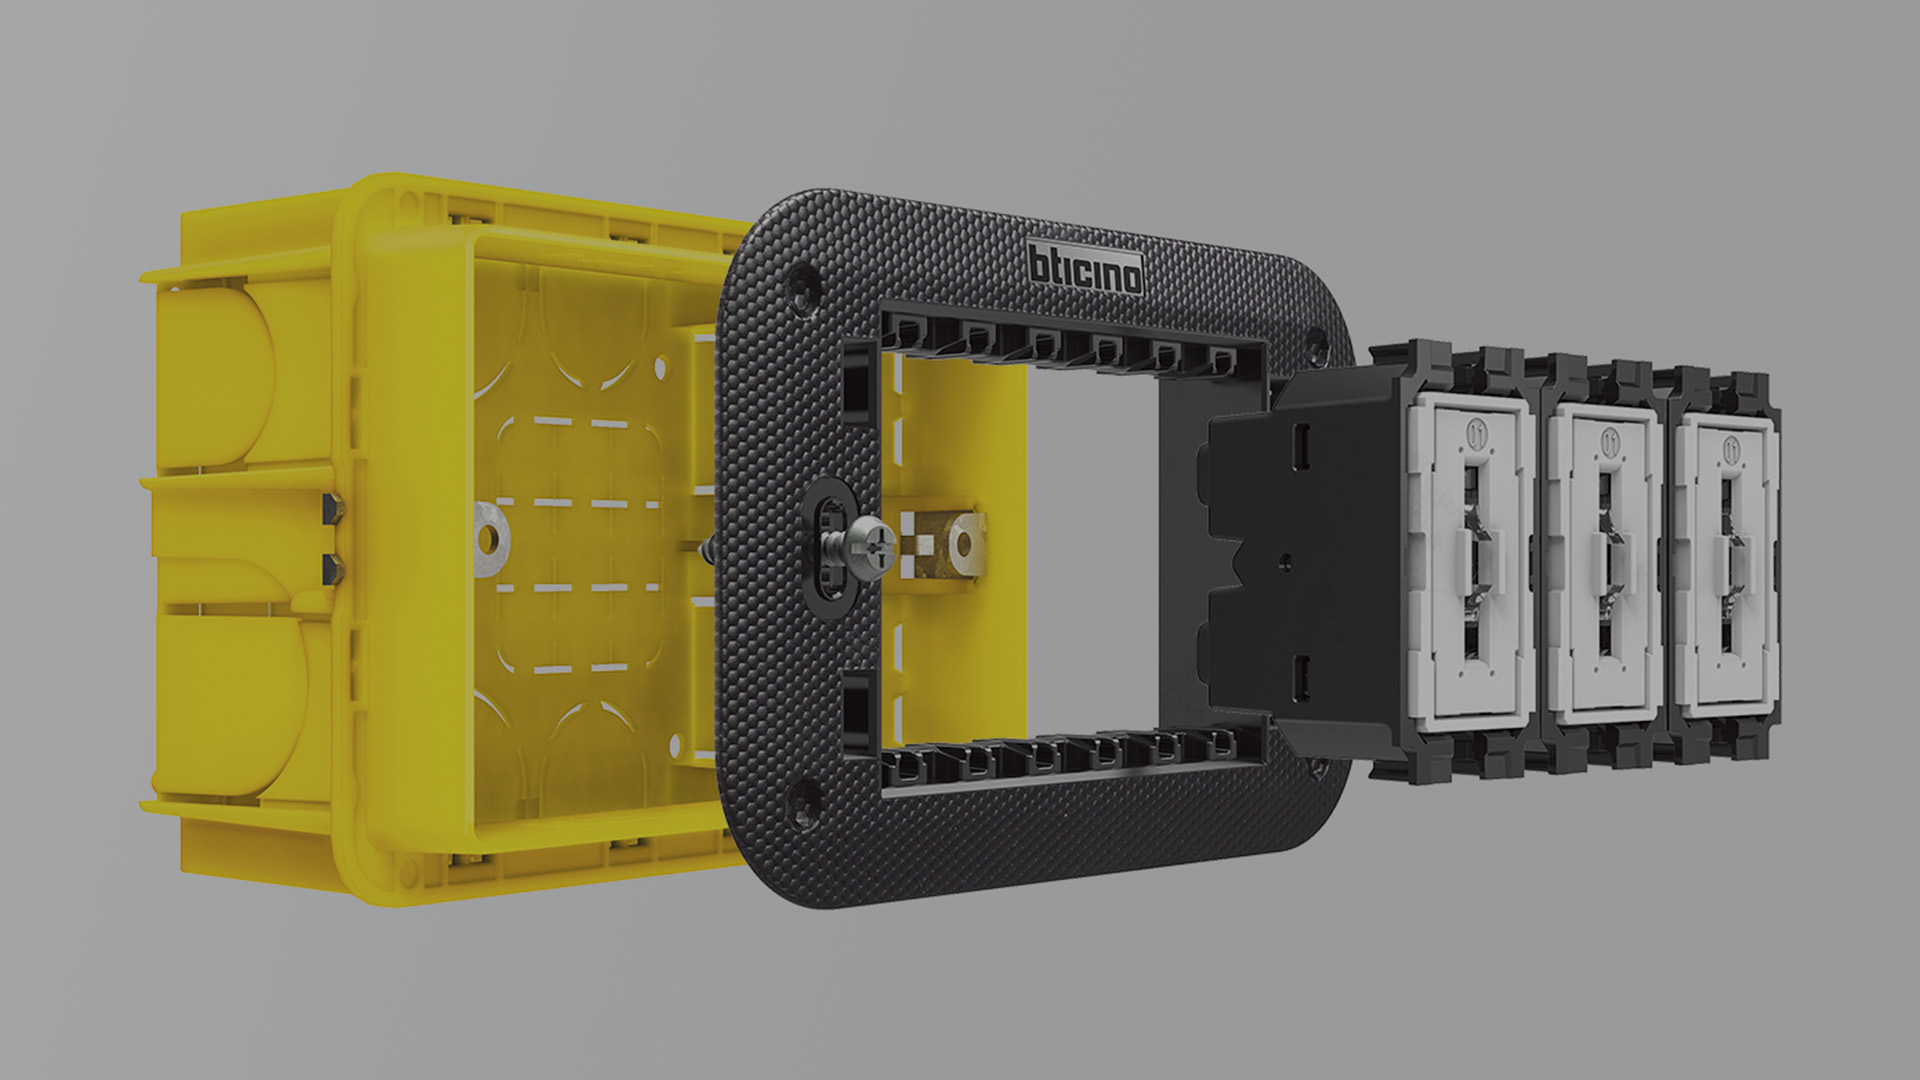
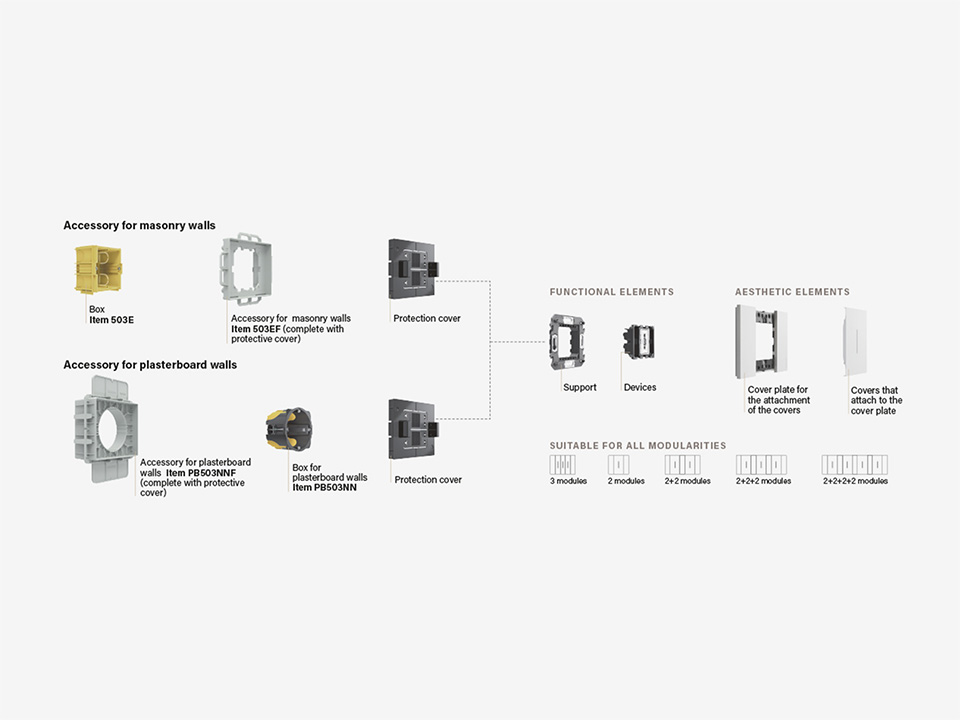
In-Wall Installation
Living Now can now also be installed totally flush with the wall. The new junction boxes can also be installed with a flush-mounted installation.
Living NOW flush-mounted installation
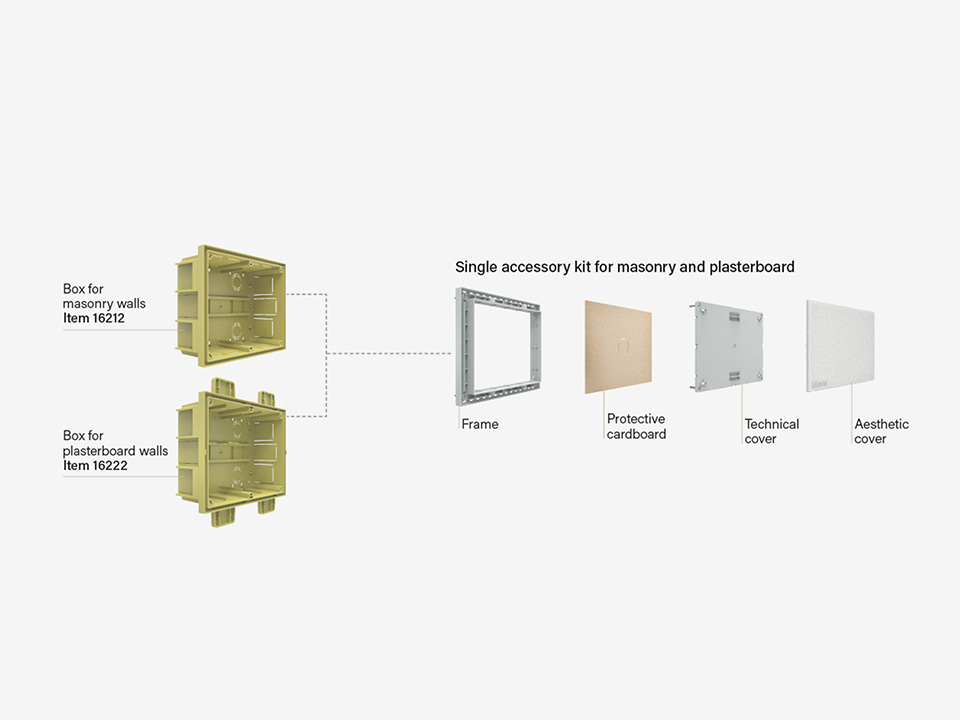
Junction boxes flush-mounted installation
Flush-mounted video tutorials


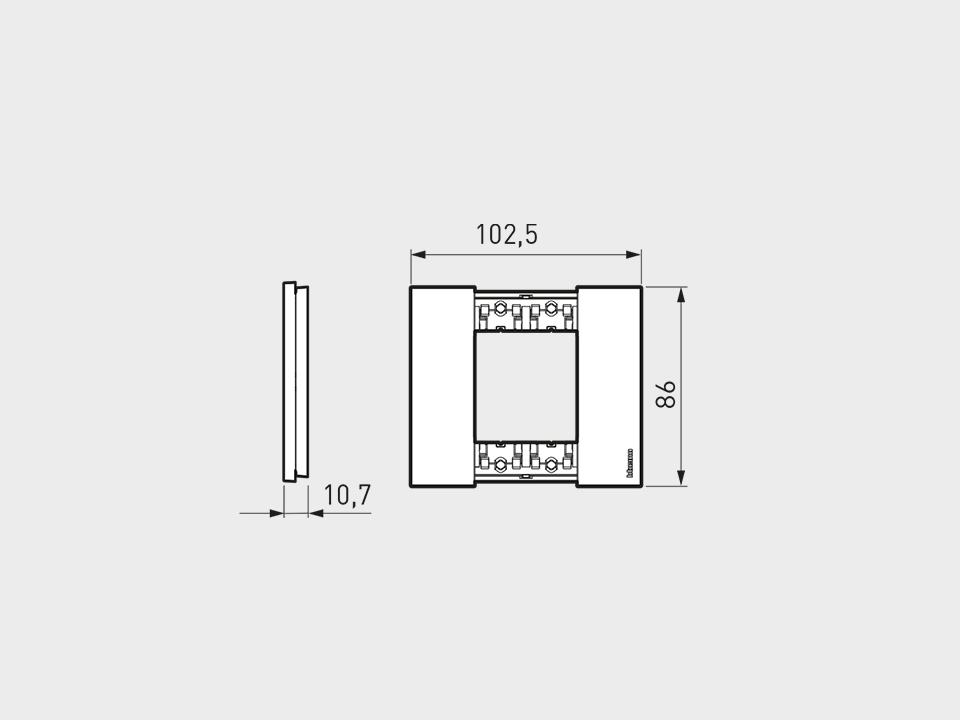
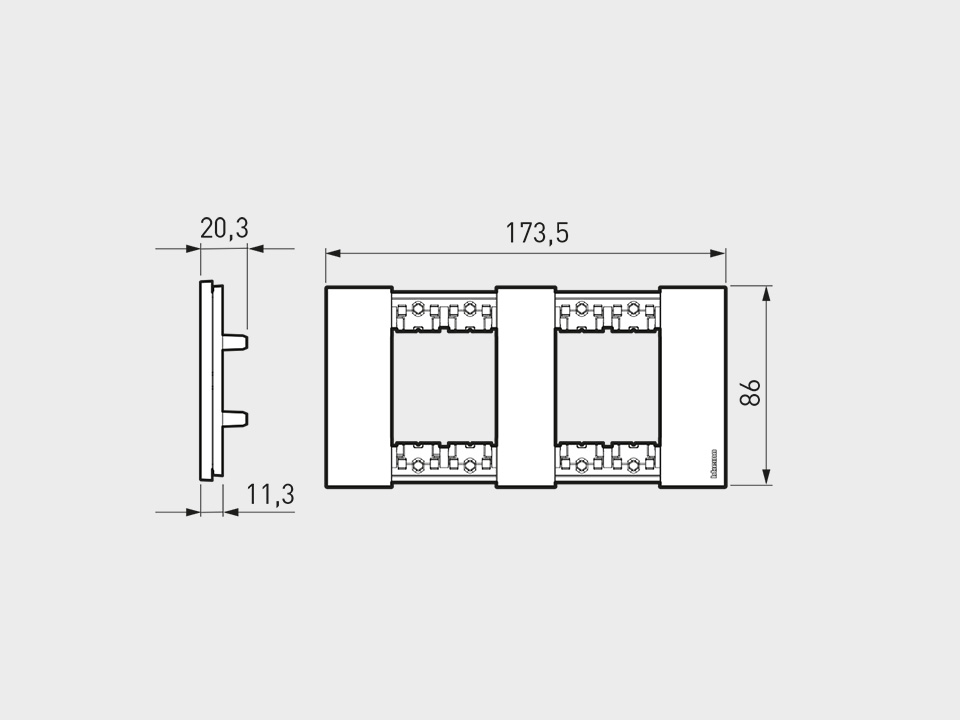
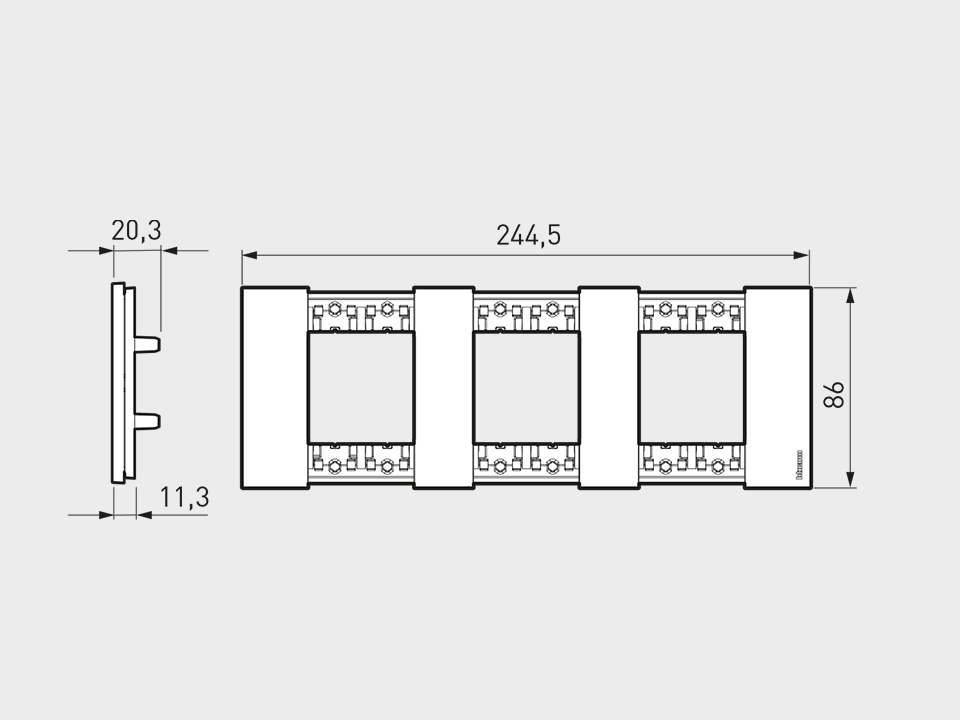
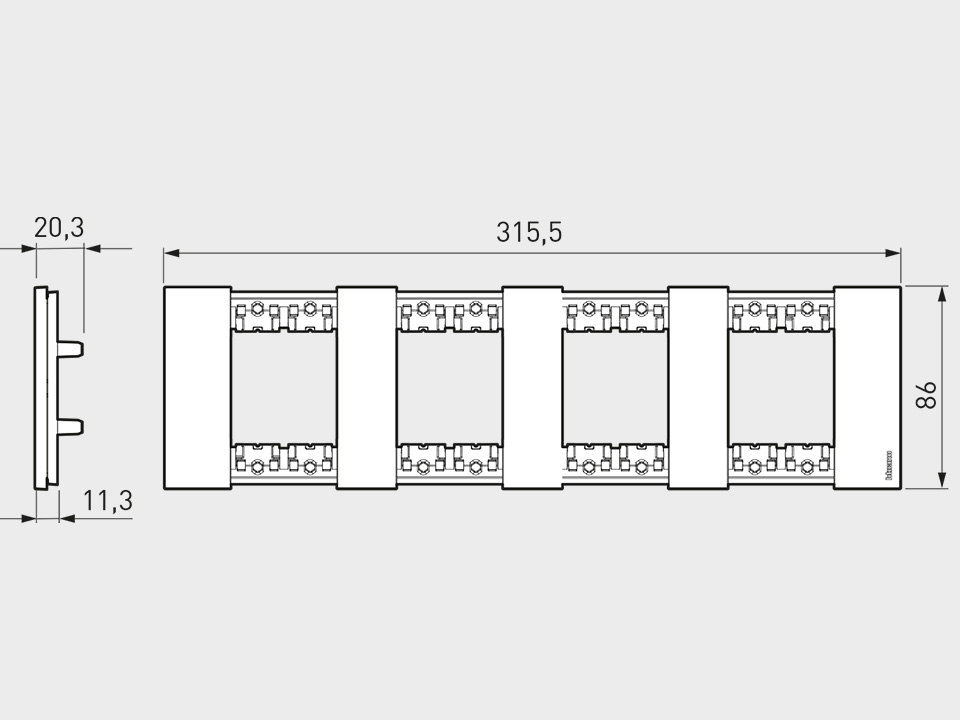
Dimensional data: Italian standard
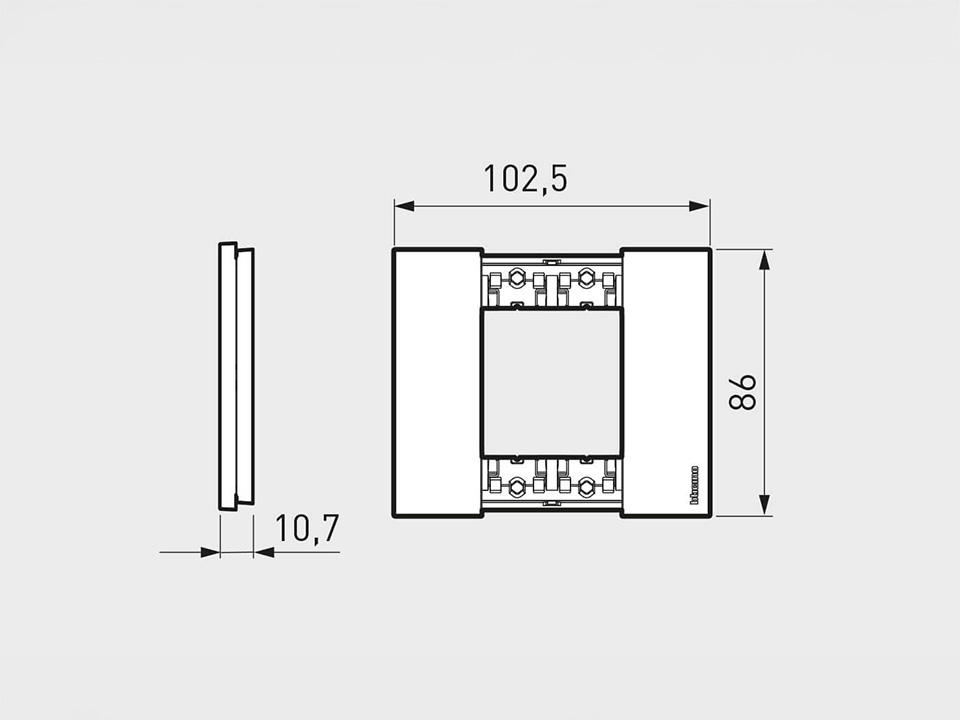

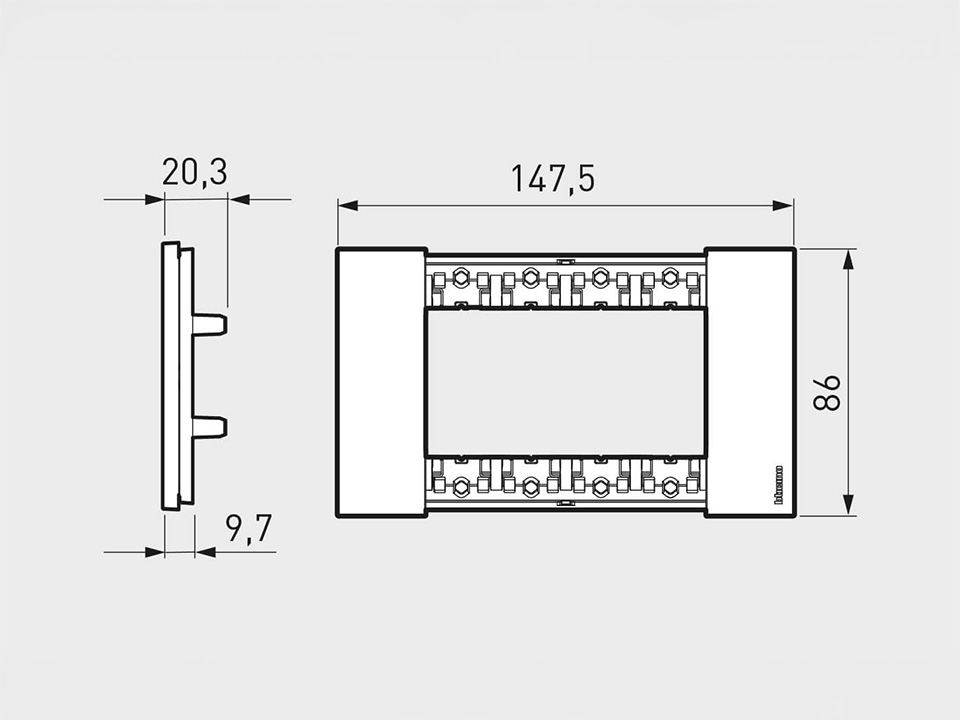
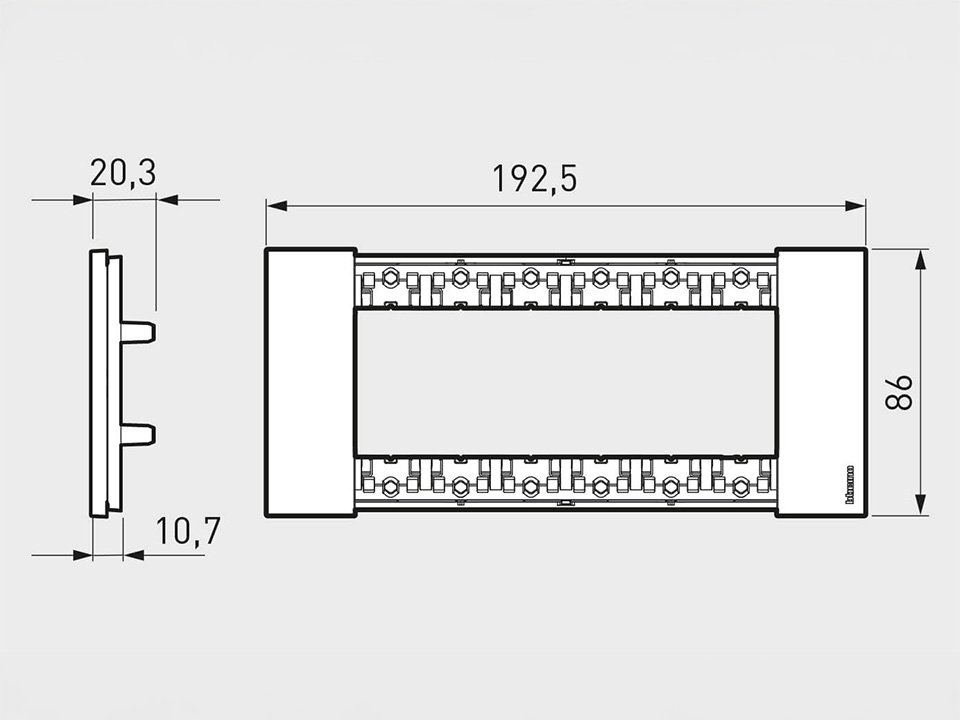
Dimensional data: European standard
Further performance features for an always perfect installation
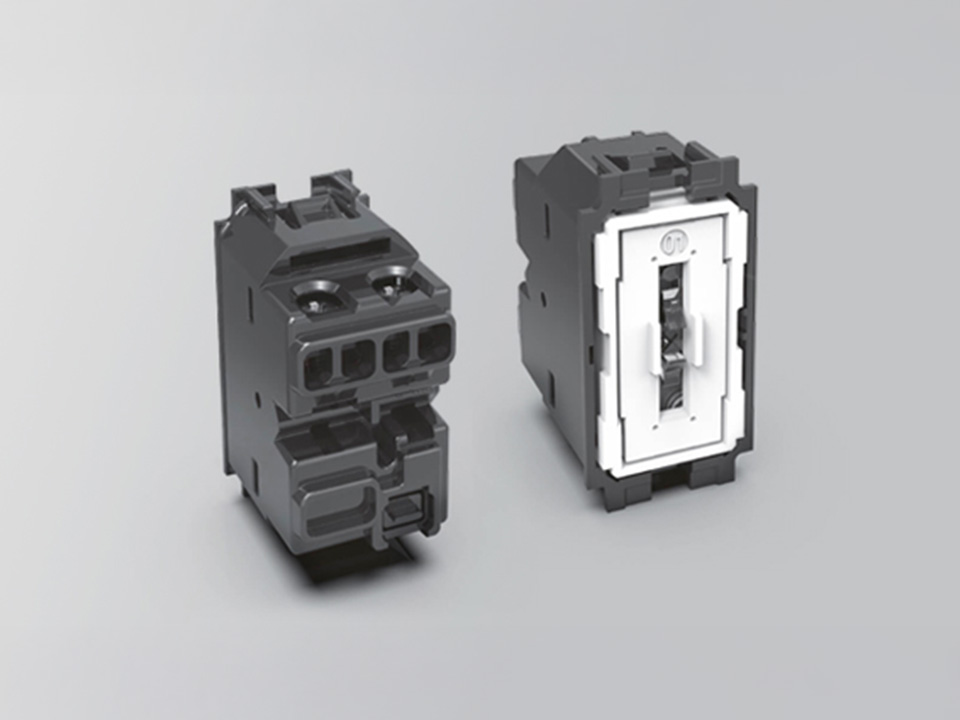
FULL TOUCH CONTROL: ELECTRO MECHANICS

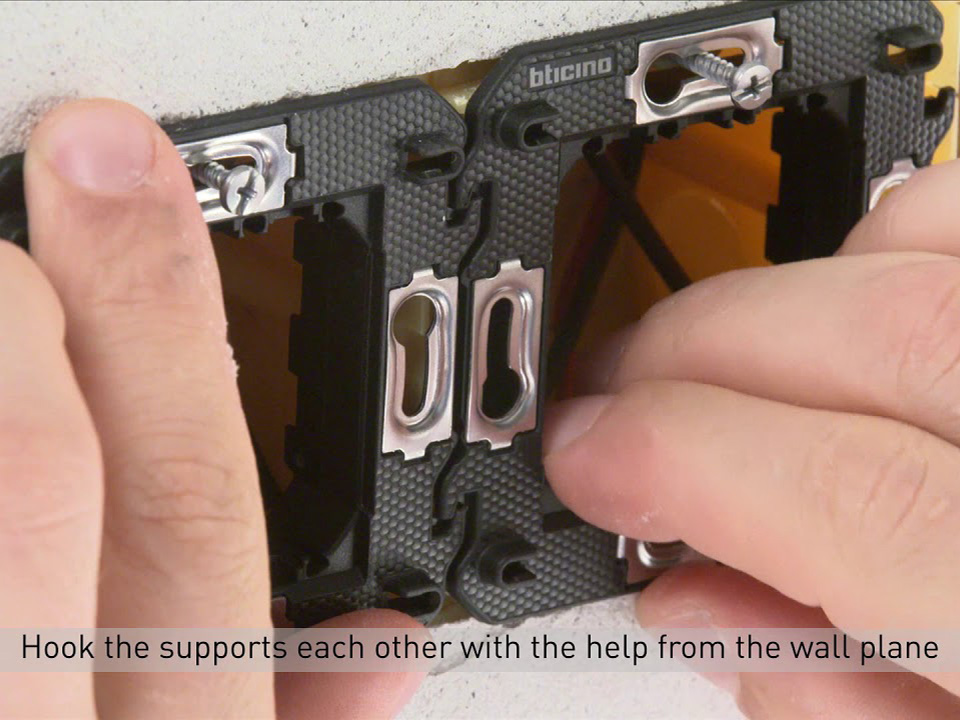
STRONGER SUPPORT
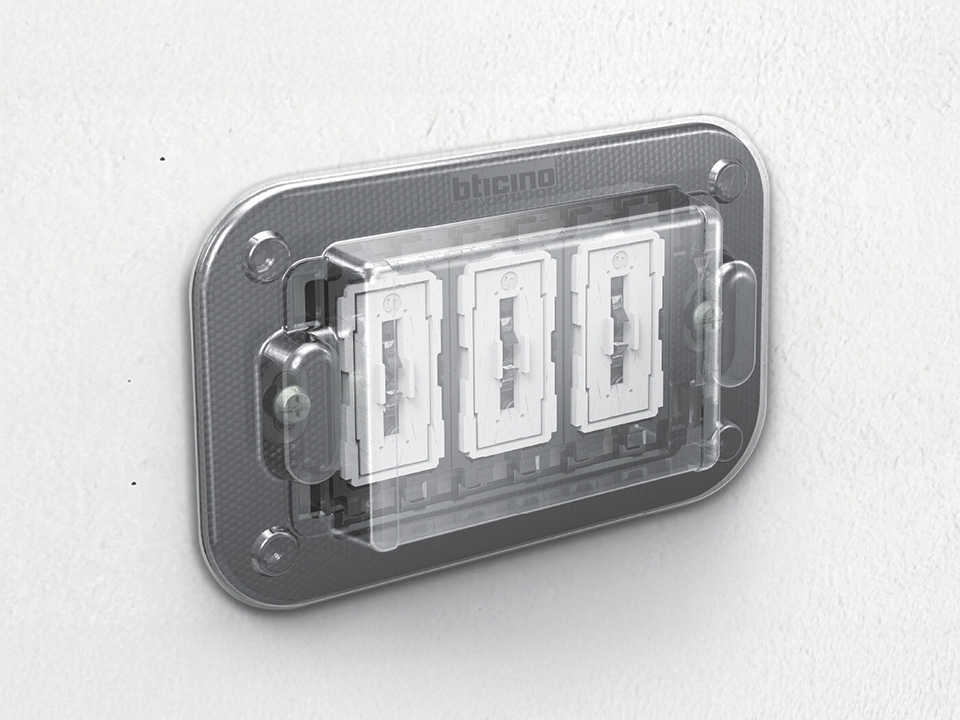
BETTER PROTECTION
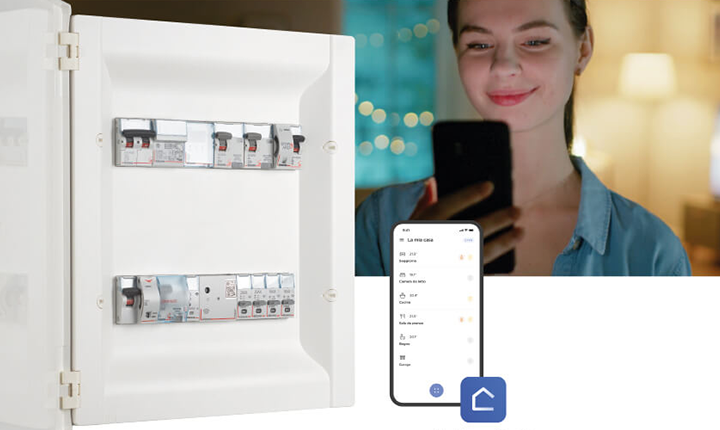
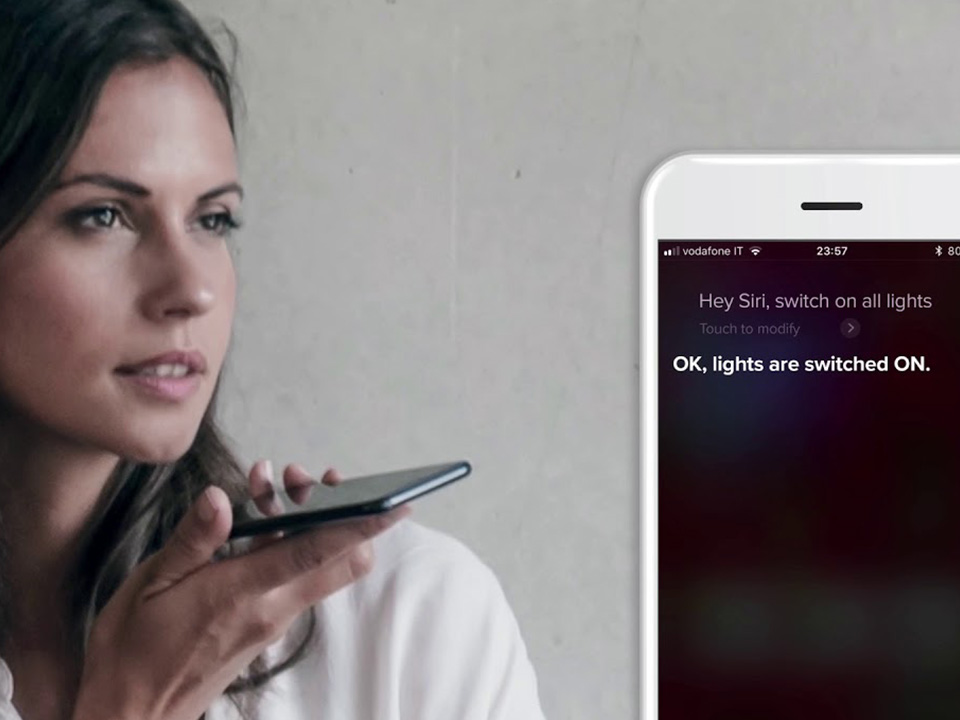
Smart electrical systems
With Living Now, you can create a connected Smart Home, freely choosing the technology depending on the needs of the customer, the complexity of the system and your installation habits.
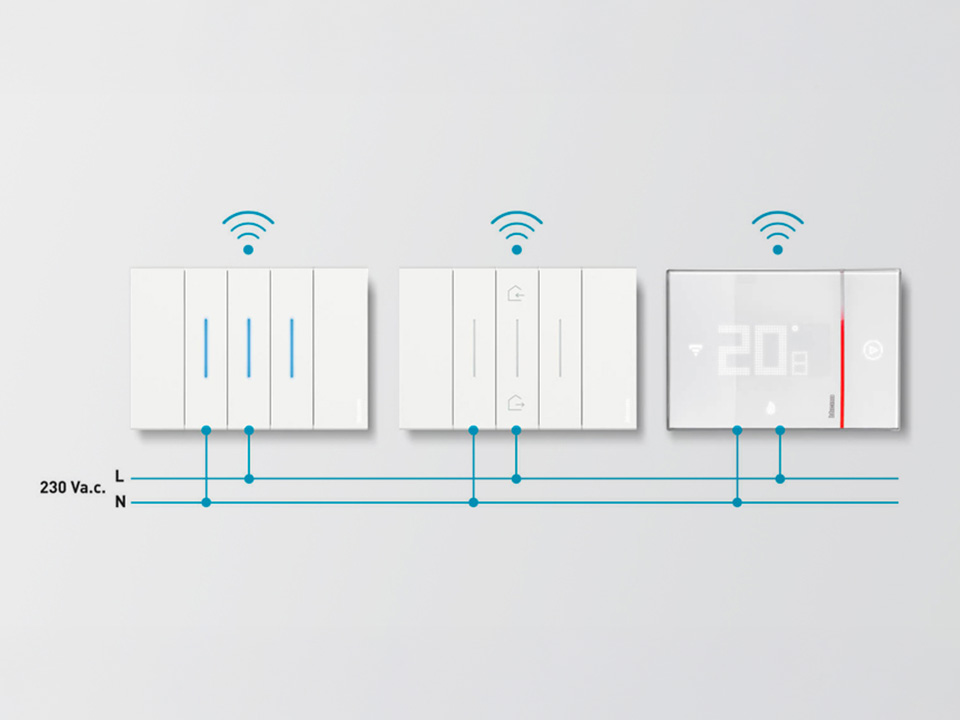
Installation with traditional wiring
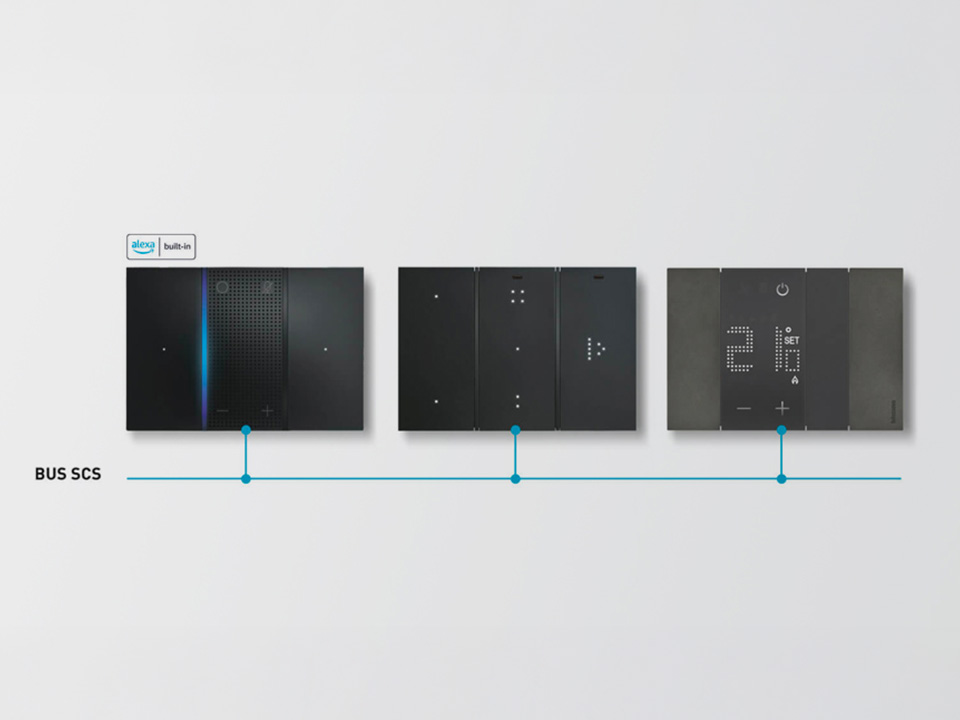
Installation with BUS

Would you like an estimate for the installation of a Smart electrical system?
It’s simple. Access the Smart Home Configurator in the Tools section of the site. With just a few clicks you can:
- create your home (one, two or three bedroom apartment, attic/home, penthouse/large villa)
- select systems (Motive power and services, lights, shutters, ...)
- customise the functions of each system for each room
- customise the ranges (Living Now, Livinglight, Axolute,…)
- customise the material list and get a complete estimate.
The estimate will remain saved in your personal area and will always be available to you.