Quick and easy installation
Install the Weather Station in a room and easily configure it via the app.
Requirements:
- Requires an internet connection
- Public Wi-Fi access points are not supported
Connectivity specifications:
- Compatible with 802.11 b/g/n Wi-Fi (2.4 GHz)
- Security: Open / WEP / WPA / WPA2-Personal
- Wireless (radio) connection between modules: long range
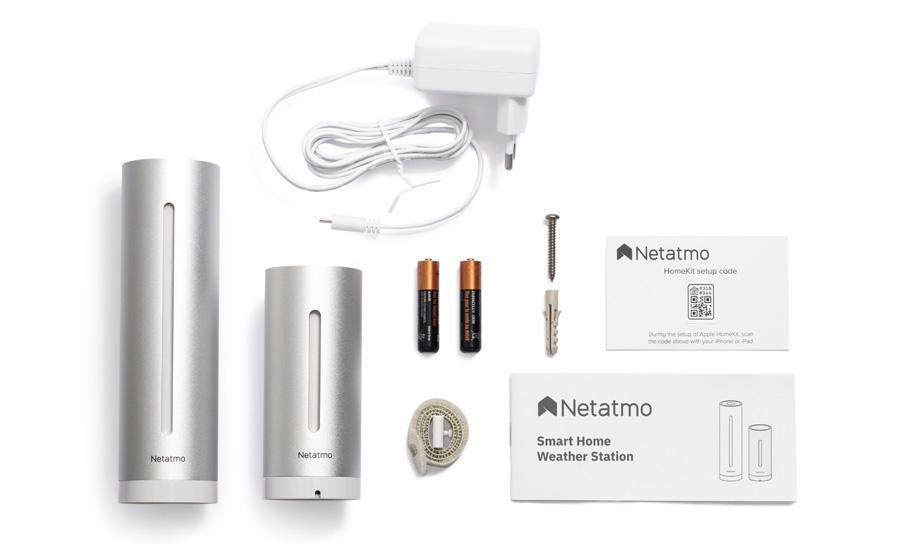
Box contents
Inside the package you’ll find:
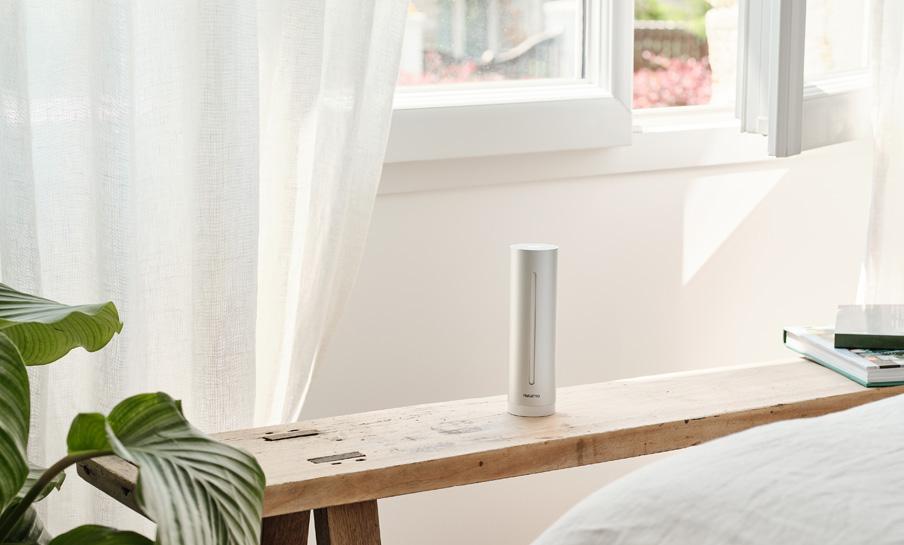
- Indoor Module: the core of the system. This device collects and analyzes indoor environmental data.
- Outdoor Module: the sensor used to monitor outdoor weather conditions.
- Accessories: includes a microUSB power adapter for the indoor module, 2 AAA batteries for the outdoor module, and 1 mounting kit.
Indoor Module setup
- Power Connection: Use the included power adapter and place the indoor module in a central area of the home. Avoid positioning it near open windows, radiators, or electronic devices that may cause interference.
- Download the Home + Control App: Available for free on the App Store and Google Play Store. Install it on your smartphone and create an account (if you don’t already have one).
- Wi-Fi Setup: Open the app, select “Add a device”, and follow the instructions to connect the indoor module to your Wi-Fi network. Make sure to select the correct frequency.
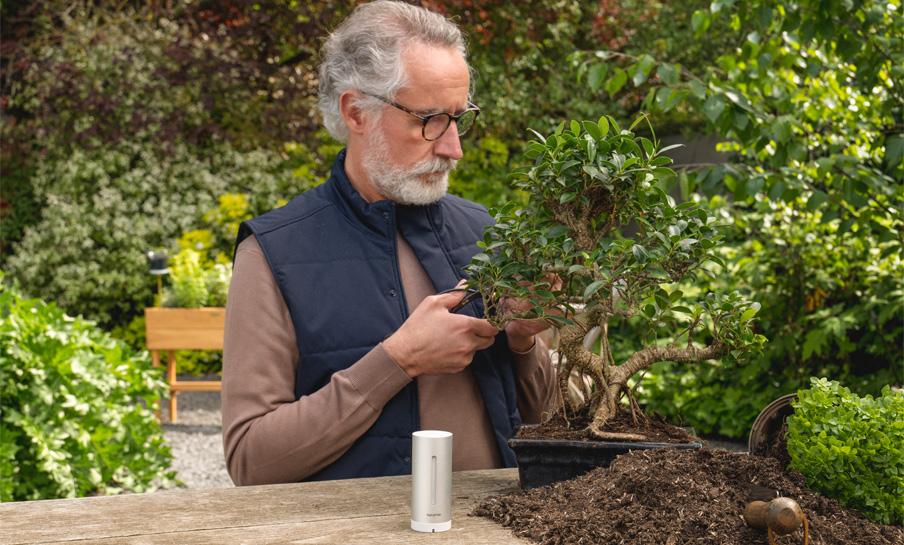
Outdoor Module setup
- Insert the batteries: open the compartment on the back and insert the batteries included in the package.
- Find the ideal location. it must be placed outdoors, but not directly exposed to rain or sunlight (for example, under a canopy or balcony). Avoid areas too close to walls that could block the signal.
- Connect to the system: once positioned, open the Home + Control app and select “Add module.” Follow the instructions to synchronize the outdoor sensor with the indoor module.
FAQ
Where to install a Netatmo weather station?
To get the most accurate readings, location is everything. The ideal placement for your Netatmo Smart Weather Station depends on which module you are positioning. Strategic placement avoids artificial heat or wind interference, ensuring your data reflects the true local microclimate.
1. The Outdoor Module (The "Shade" Rule)
- Keep it in the shade: This is the most important rule. Direct sunlight will heat the aluminum body, causing the temperature readings to be several degrees higher than the actual air temperature.
- Ventilation is key: Place it in an open area where air can circulate freely. Avoid enclosed boxes or tight corners.
- Protection: Mount it under a roof eave, balcony overhang, or porch. While it is weather-resistant, sheltering it from constant direct rain will prolong its lifespan.
- Height: Ideally 1.2 to 2 meters (4 to 6.5 feet) above the ground, preferably over a natural surface like grass.
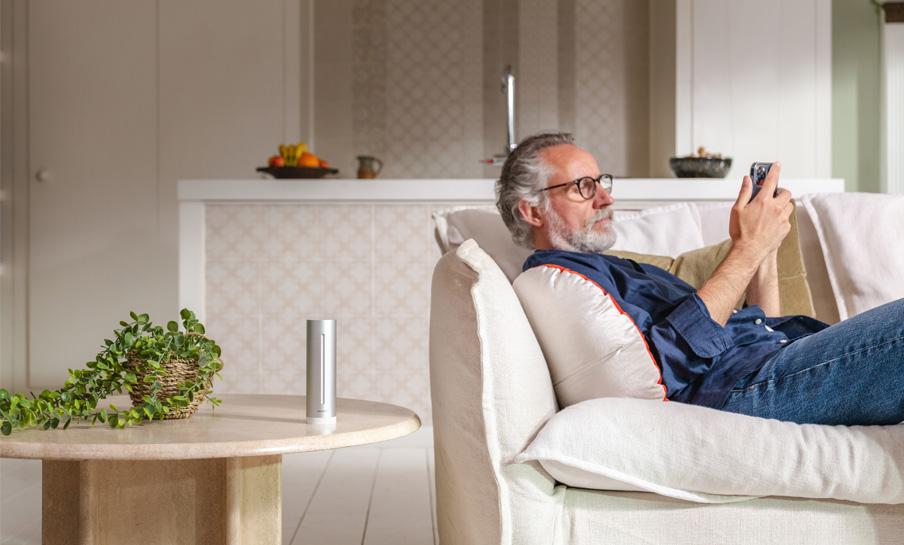
2. The Indoor Module (Air Quality & Comfort)
- Central Location: Place it in the room where you spend the most time (e.g., the living room) to accurately monitor CO2 levels and indoor comfort.
- Avoid Interference: Keep it away from heat sources like radiators, fireplaces, or electronic devices that generate heat (like a TV or router).
- Stay away from humidity: Avoid kitchens or bathrooms where steam can skew humidity and CO2 readings.
3. Connection & Range
- Wireless Range: Ensure the Outdoor Module is within 100 meters (330 feet) of the Indoor Module. Remember that thick walls, metal doors, or stone structures can significantly reduce this range.
- Wi-Fi Signal: The Indoor Module must be placed where your home Wi-Fi signal is stable to ensure constant data syncing to the Netatmo cloud.
How high should a weather station be mounted?
To get the most professional and accurate results from your Netatmo Smart Weather Station, the mounting height depends on which module or accessory you are installing. Following international meteorological standards (WMO) ensures your data isn't skewed by ground heat or local obstacles.
1. Outdoor Temperature & Humidity Module
- Ideal Height: 1.25 to 2 meters (approx. 4 to 6.5 feet) above the ground.
- Why: This height prevents the sensor from being affected by heat radiating from the ground (if too low) or by air currents closer to the roof (if too high).
- Pro Tip: Always mount it over a natural surface like grass rather than asphalt or concrete, and keep it in a shaded, well-ventilated area.
2. Smart Rain Gauge (Pluviometer)
- Ideal Height: 0.5 to 1.5 meters (approx. 1.5 to 5 feet).
- Why: Placing the rain gauge too high can expose it to stronger winds, which may blow rain away from the funnel (wind-under-catch).
- Placement: Ensure it is at a distance from nearby obstacles (trees or walls) equal to at least twice their height to avoid "shadowing" the rain.
3. Smart Anemometer (Wind Gauge)
- Ideal Height: 10 meters (approx. 33 feet) is the professional standard, but for home use, aim for at least 1 to 2 meters above your roofline.
- Why: Wind speed is significantly lower near the ground due to friction and turbulence from buildings and trees.
- Netatmo Specific: In the Netatmo app settings, you can calibrate the readings by entering the actual height at which you've installed the sensor to compensate for its position.
How to set up a Netatmo Weather Station?
Setting up your Netatmo Smart Weather Station is a quick and intuitive process designed to get your hyper-local weather data flowing in minutes. Follow these simple steps to complete the installation:
- Power the Indoor Module: Connect the main (large) module to a wall outlet using the provided USB power adapter. A light should flash to indicate it’s ready.
- Download the App: Install the Netatmo Weather app (available on the Apple App Store and Google Play Store) and create your account.
- Pair via Bluetooth: Enable Bluetooth on your smartphone. In the app, go to Settings > Install New Products and select "Smart Weather Station." Touch the top of the Indoor Module until the LED flashes blue or white to initiate pairing.
- Connect to Wi-Fi: Follow the on-screen instructions to connect the station to your home 2.4 GHz Wi-Fi network.
- Activate the Outdoor Module: Insert the AAA batteries into the Outdoor (small) Module. It will automatically synchronize with the main station.
- Find the Perfect Placement: For the most accurate readings, place the Outdoor Module in a sheltered spot away from direct sunlight and rain.
How do I connect my weather station to Wi-Fi?
Connecting your Netatmo Smart Weather Station to Wi-Fi is handled through the Netatmo Weather app. For a smooth setup, ensure your smartphone is connected to the same network you wish to use for the station.
Step-by-Step Wi-Fi Configuration:
- Open the App: Navigate to Settings > Install New Products.
- Select Your Device: Choose "Smart Weather Station" from the list.
- Enter Pairing Mode: Plug the Indoor Module into a power outlet. Touch the top of the module until the LED light flashes blue or white.
- Bluetooth Pairing: Ensure Bluetooth is active on your phone so the app can "find" the station.
- Select Network: The app will scan for available Wi-Fi networks. Select your 2.4 GHz home network.
- Enter Password: Type your Wi-Fi password carefully (passwords are case-sensitive).
How do I add extra modules like a Pluviometer or Anemometer?
Open the Home + Control app, select “Add a module,” and follow the pairing instructions. For physical installation:
- Pluviomer or rain gauge – mount horizontally on a stable surface, away from obstructions.
- Anemometer or wind gauge – place at least 1 meter above the roof for accurate readings.
Ensure both are within range of the indoor module.
What should I do if the outdoor module stops sending data?
First, check the batteries and replace them if needed. Ensure the module is not too close to walls or metal objects that block the signal. If the problem persists, remove the module from the app and re-pair it by selecting “Add module.”
How to reset a Netatmo a weather station?
Depending on the issue you are facing, you may need either a simple reboot to fix connectivity issues or a full factory reset to delete all data (e.g., if you are selling the station).
1. How to Reboot (No Data Loss)
If your station is offline or not syncing, try a reboot first. This will not erase your history.
- Indoor Module: Unplug the USB power adapter, wait 60 seconds, and plug it back in. The LED should flash green.
- Outdoor Module: Remove the AAA batteries, wait one minute, and re-insert them.
2. How to Factory Reset (Deletes All Data)
A factory reset is permanent and is usually only necessary if you are donating or selling the device.
- Via the App: Go to Settings > Manage my Home, select the room where the Indoor Module is located, click on the module, and select "Delete". This unpairs the station from your account and clears its configuration.
- Physical Reset (HomeKit): If you are having issues with Apple HomeKit, plug in the Indoor Module and press and hold the top of the station until it flashes red. Press once more to confirm. The station will restart and flash blue, meaning it is ready for a fresh setup.
Warning: Resetting your station by deleting it from the app will permanently erase all your historical weather data and graphs. This operation cannot be reversed.